Usage Guide
Basics
Overview
HOFFNUNG 3000 consists of two panels on each side which help you to navigate through the platform:
- Menu from here you can reach all important pages, the ticket sales for visitors and tools for self-curation, click on the menu button in the upper left corner to open it
- Sidebar contains all social features like the activity stream, your message inbox, the random meeting tool or buttons to log out or to change your profile. You can register as a participant when you are not logged in yet. Click on the round button in the upper right corner to expand it

Roles
Users can have four different roles on HOFFNUNG 3000:
- Unregistered guests see a calendar overview and all basic informations
- Ticket owners / visitors have access to the calendar and addresses of all public events
- Participants have access to all public and private events. Can use all tools to create and share resources, places and events. They can write messages to each other, see the activity stream and use the random meetings tool
- Admins have access to the admin panel to create, update and delete users, change permissions and customize the platform
Sign up
Register as a participant
Open the right sidebar and click Register as participant for sign up if you want to contribute to the festival. You might be asked to read a text and watch a video before you can proceed to get yourself familiar with the setting. Fill out all the required information and proceed to the checkout.

Get a visitor ticket
Open the left menu and click Tickets for receiving a visitor ticket which allows you to see where all events take place. Fill out the required fields and proceed to the checkout.
Payment methods
Depending on the festival you might be asked to pay for participation or the visitor ticket. If not, you can just finish the registration and you will receive a confirmation mail directly.
HOFFNUNG 3000 offers payment via PayPal and wire transfer (again, depending on the configuration). When you choose to pay via wire transfer, the organizers will enable your account as soon as the payment arrived on theire account.
Self-curation
Every user is allowed to use all registered resources and places to organize events there. When organizing an event, the requested place and resource will be blocked for the selected timeframe.
Please note that there is no authorization process, the requested resources and places are automatically confirmed when being available. Please use the internal messenger tool to write to that person if you have further questions towards the use of your resources or places.
Manage resources
Resources can simply be anything you want to share with others so they can realize theire events: It can be skills (playing an instrument, being good at finding something on the internet, helping to prepare food, etc.), real physical items (your keyboard, a PA system, projector or rubber boat) or anything else you can think of.

Click on Der Markt (“The market”) when you want to list all available resources. Click Create Resources if you want to register a new one. Just fill out a title for your resource, add a short description about it (for example details about usage or where to pick it up), upload an image and click Done when ready.
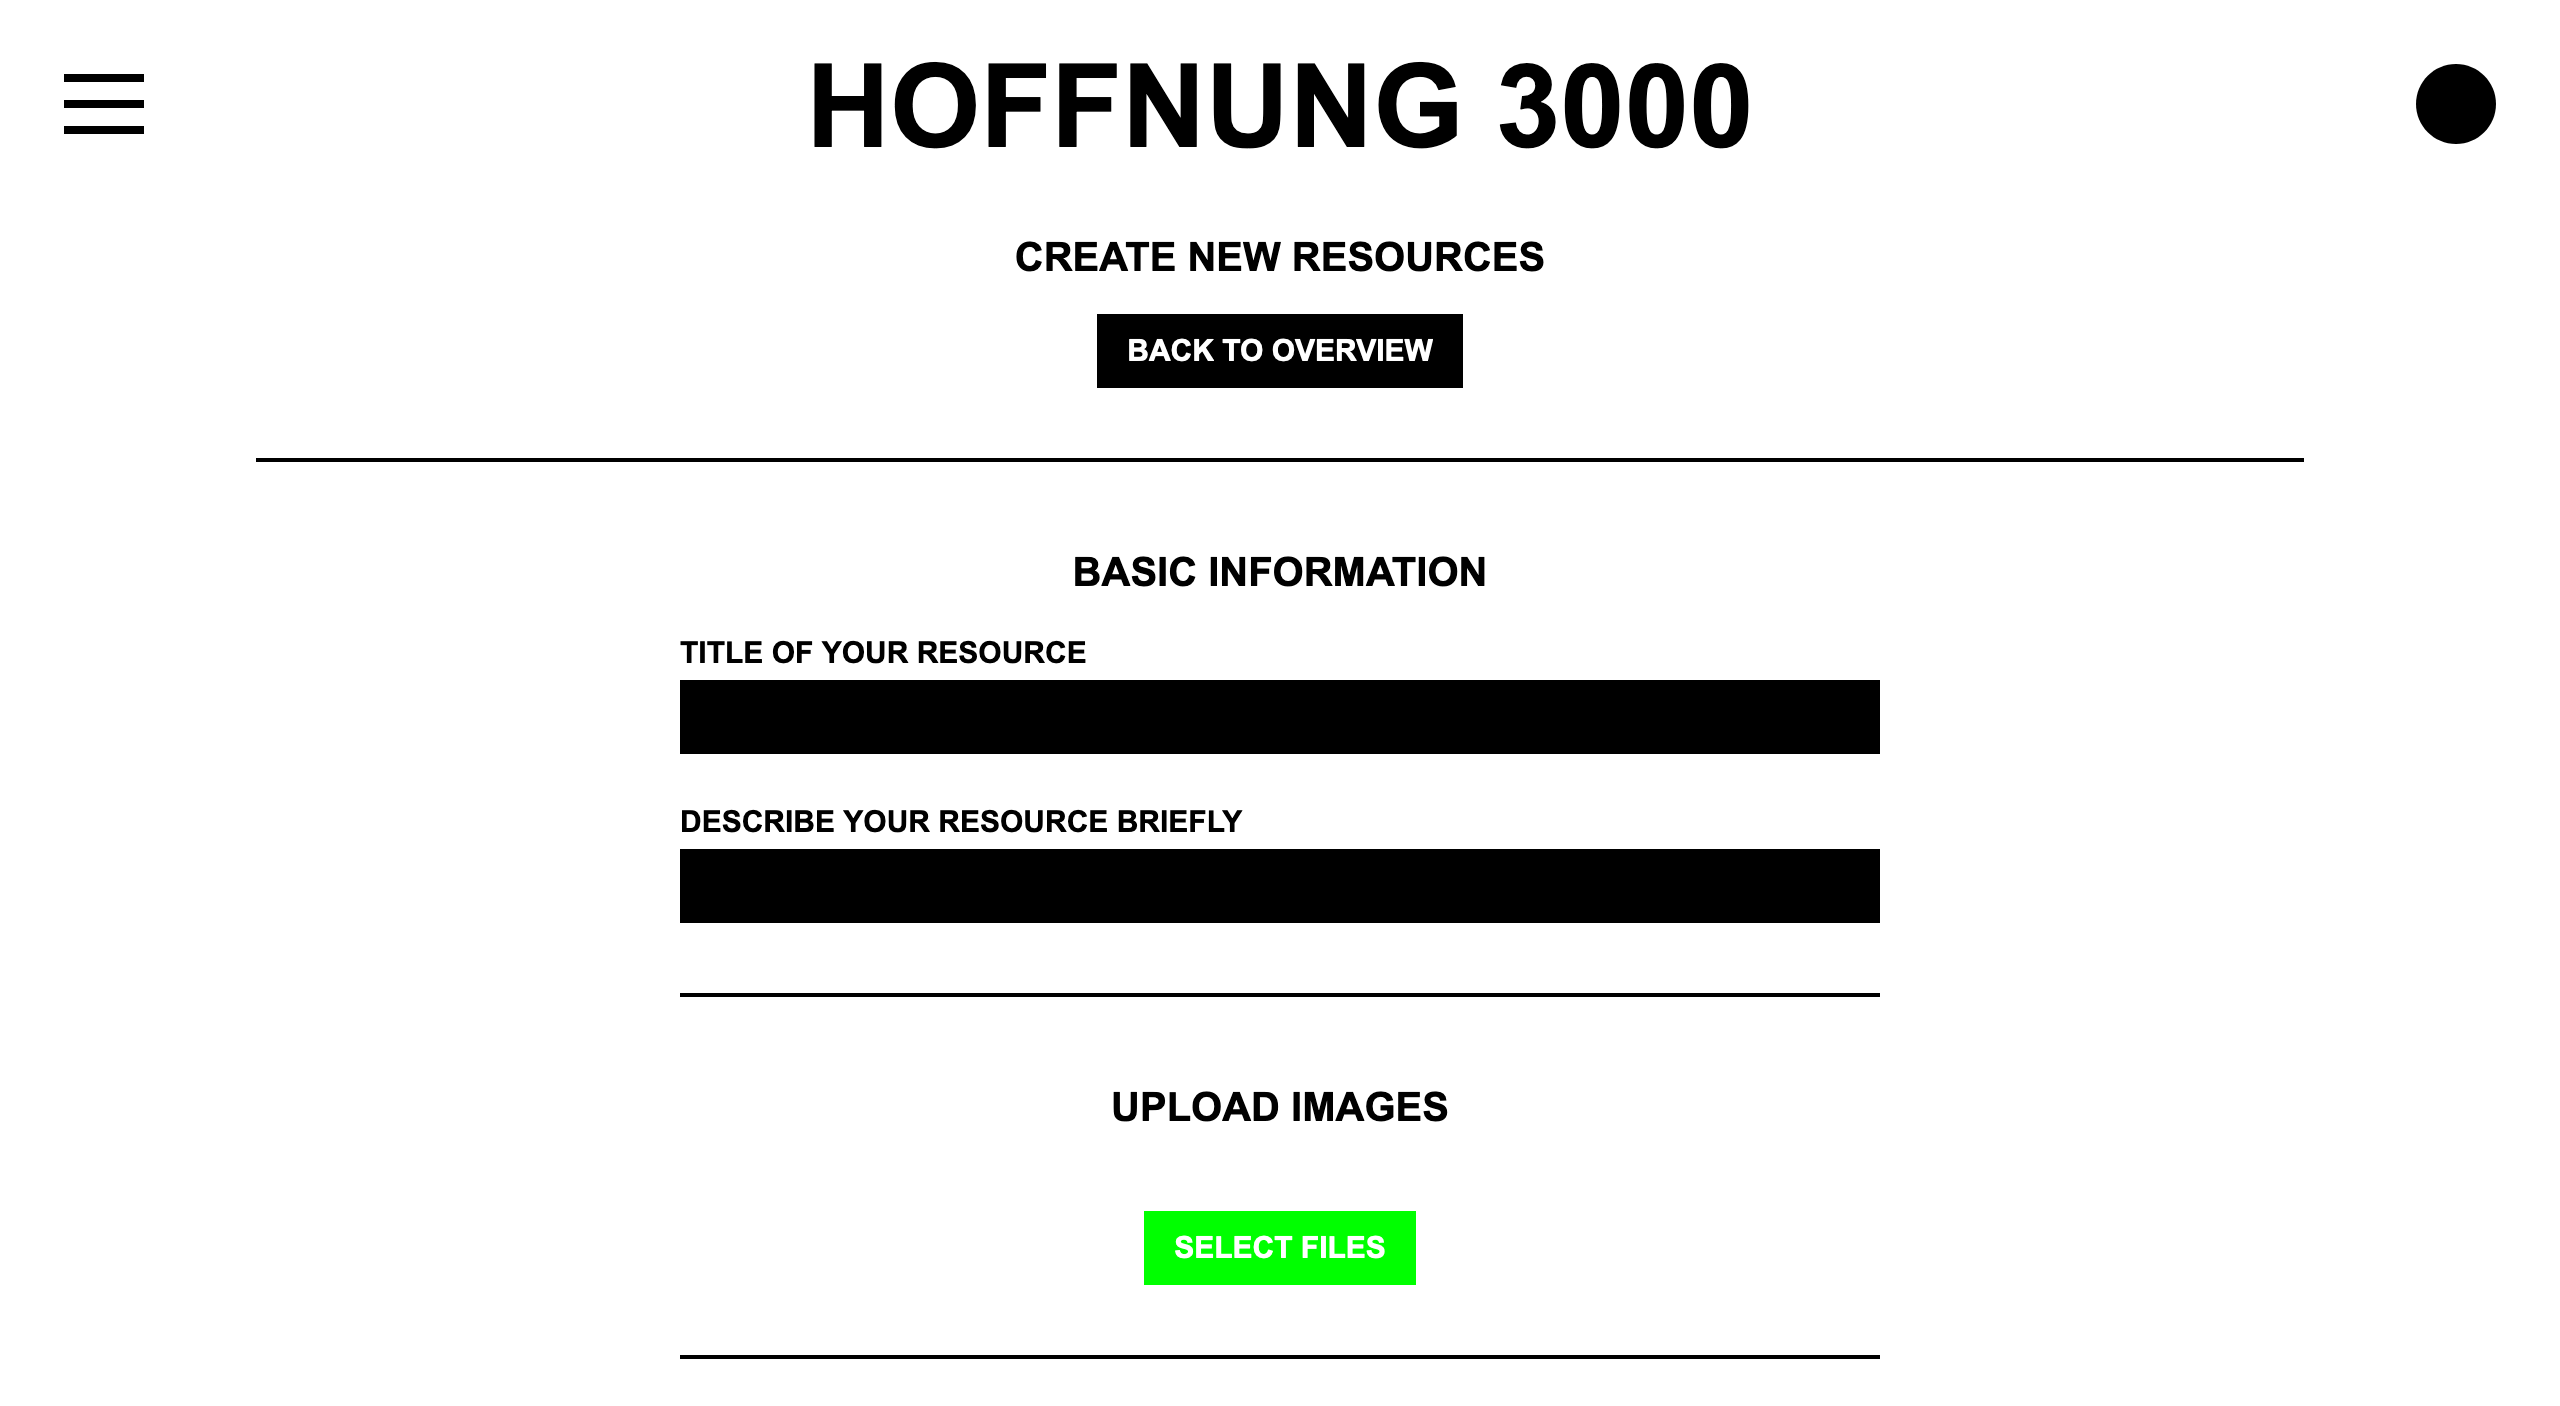
Your registered resource is now available for everyone else to be used. You will receive an notification message in your inbox and email when someone requested it for an event. You can contact that person via the internal message system to coordinate all further steps.
Manage places
Places can be understood as venues which host events. When you register a place you make it available and usable to all other participants.
A place on HOFFNUNG 3000 can be:
- An address (like “official” places with a streetname, number etc.)
- A GPS position (which gives you the chance to make “everything” a place)
- A virtual space (for dreaming)
Click Places in the menu to list all currently available places. Click Create Place to register your own.
You will be asked to fill in a title and a longer description of your place, upload a few pictures so others can see what it is about. Define under Where is it how others can find it: Select a GPS position by clicking on the map, define a normal adress or select virtual space.
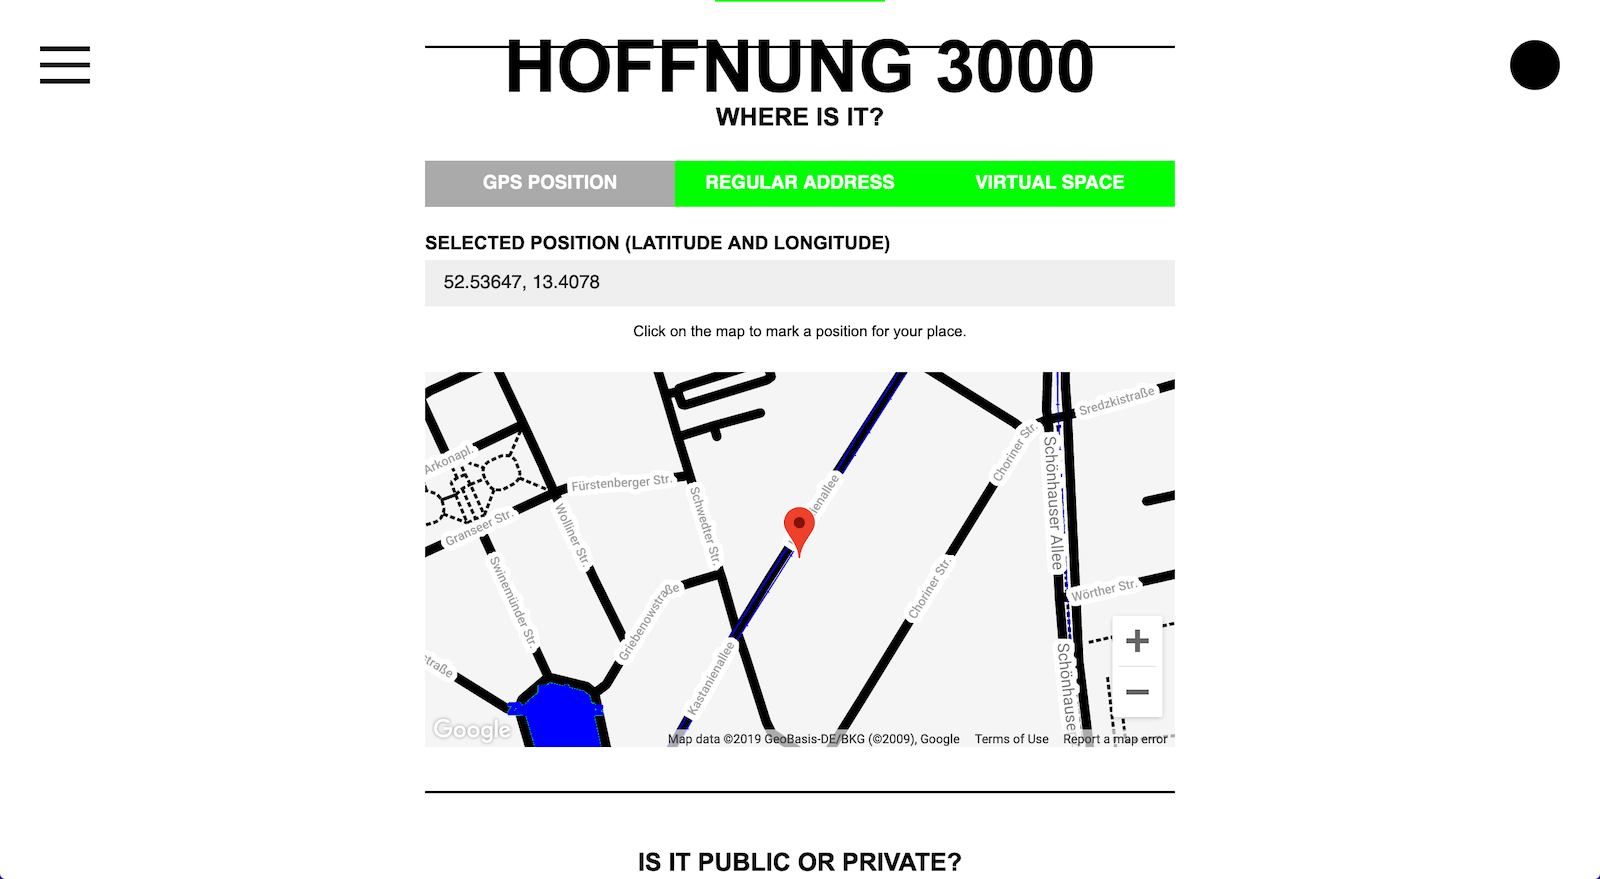
Define if your place is public or private. If you make your place private it won’t be visible to unregistrated users and visitors with tickets. Only participants will be able to see it in the calendar. Every event which will be organized in your private place will also automatically be private.
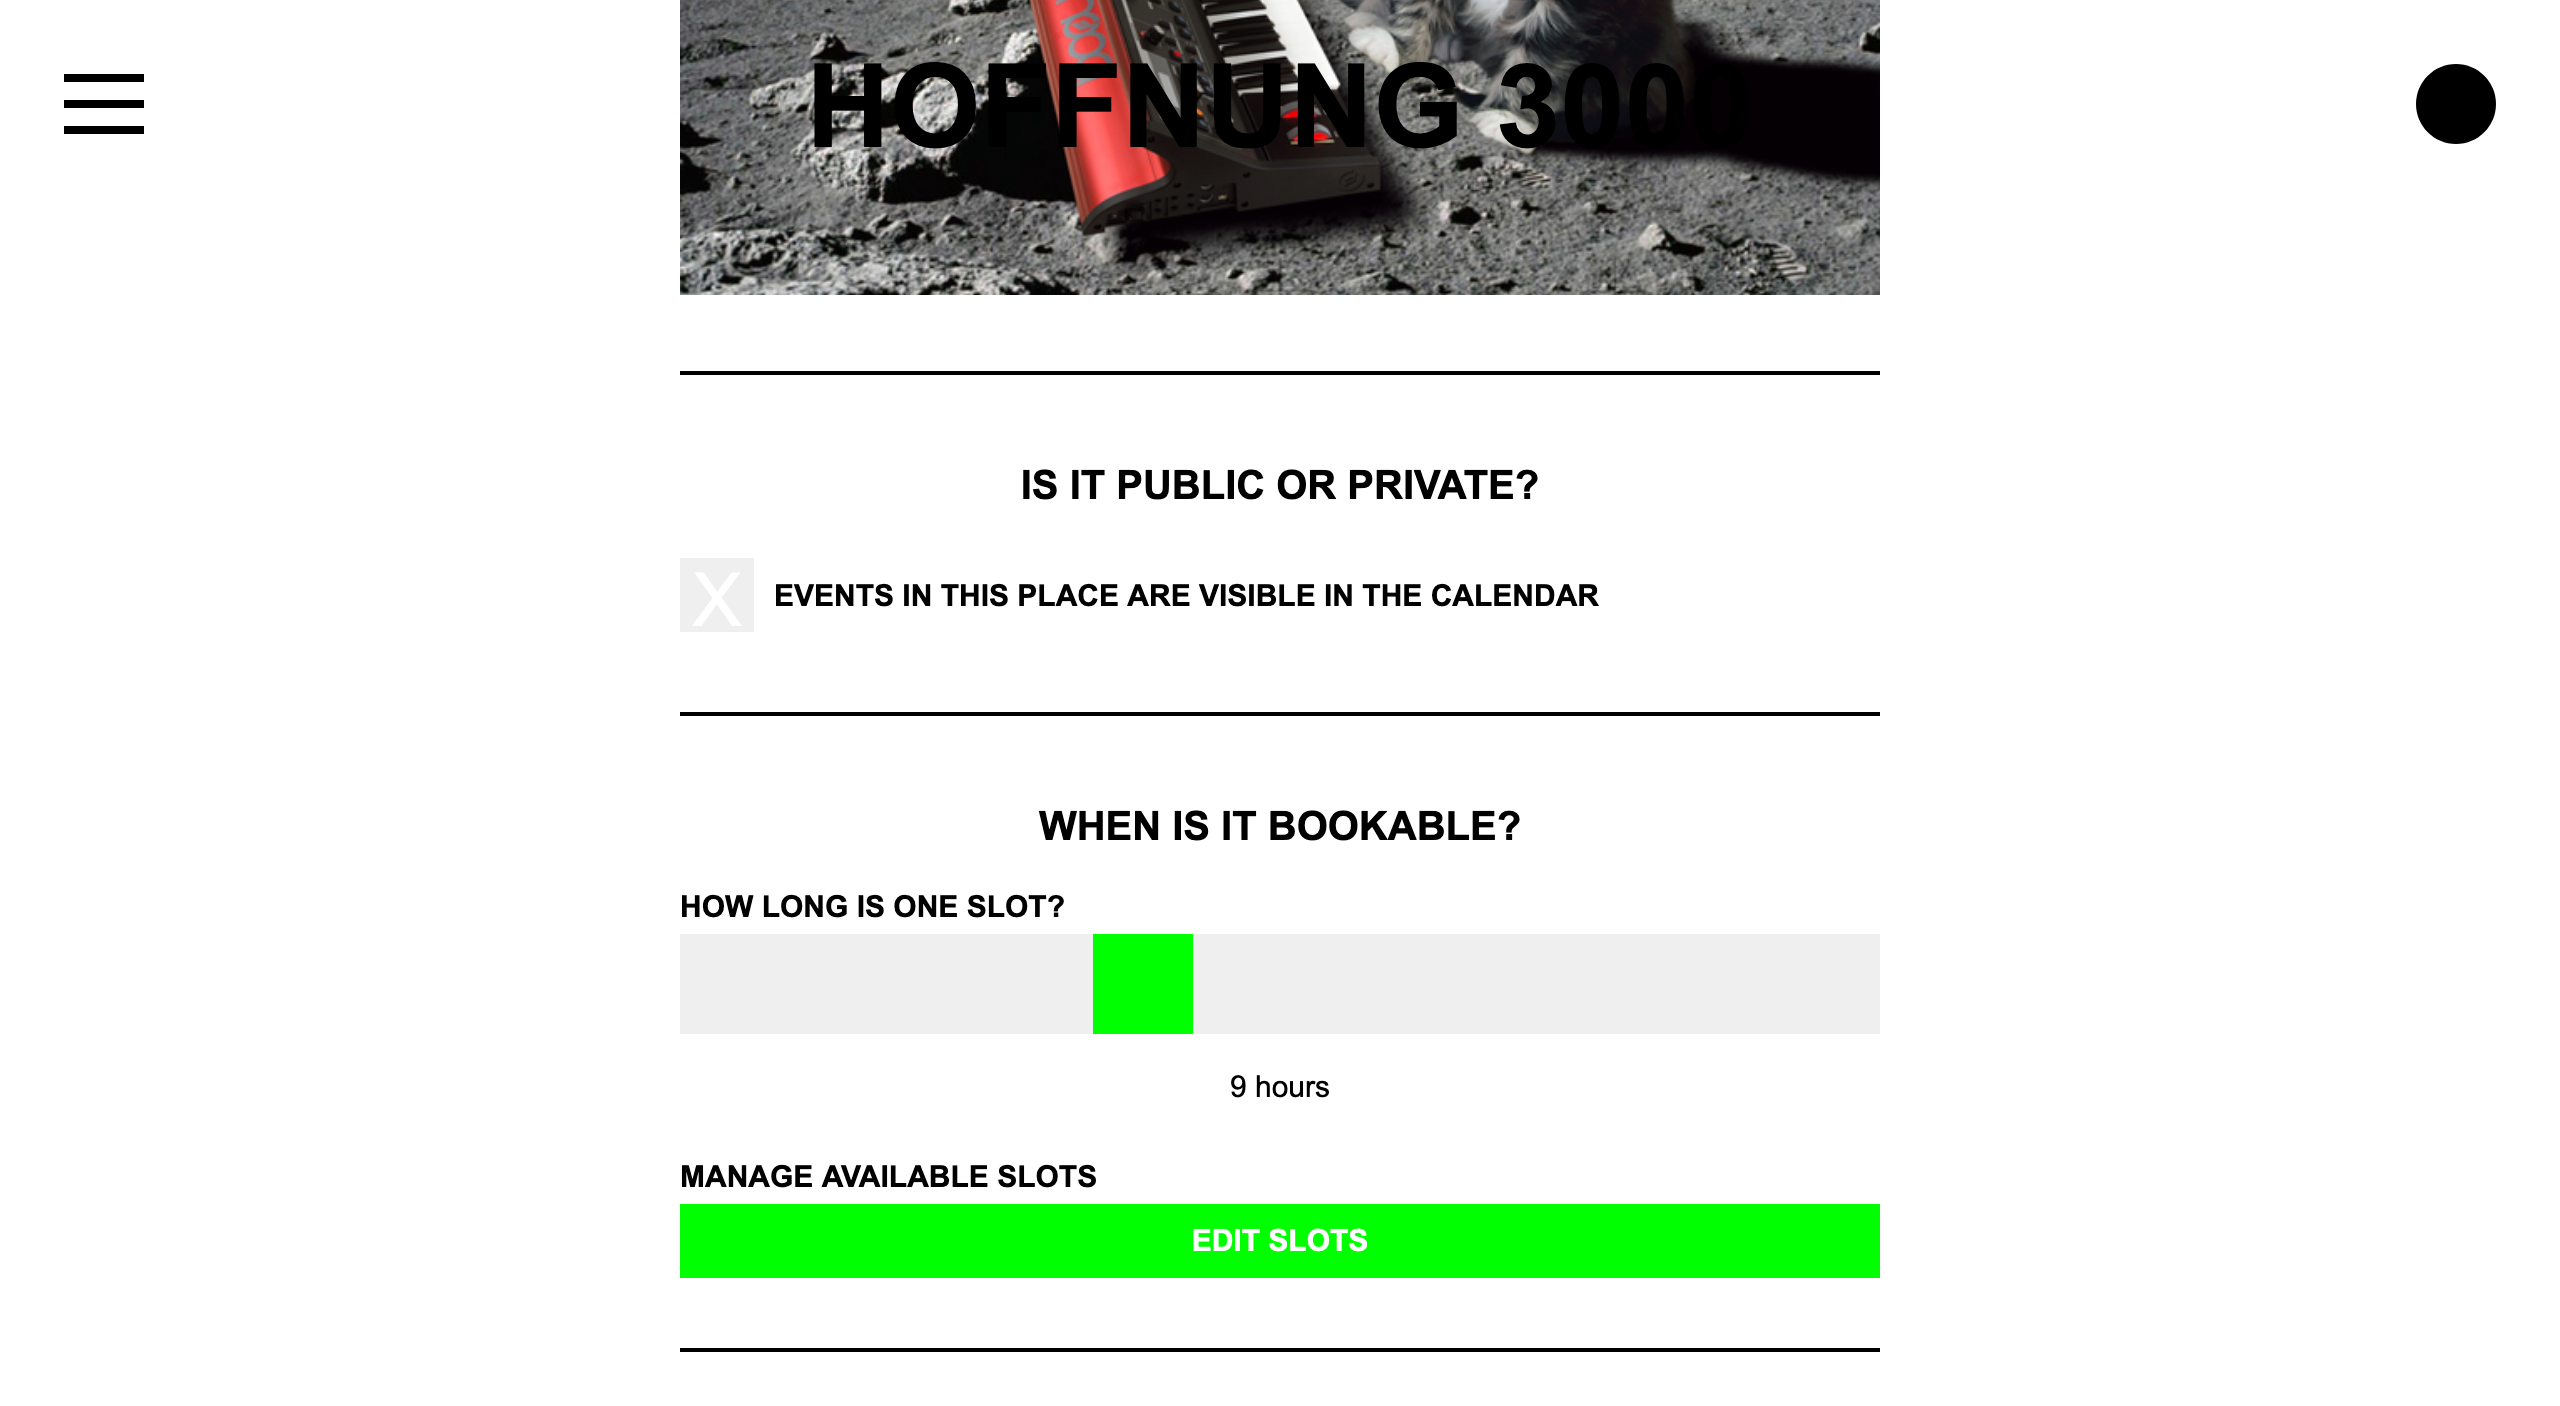
Places offer time slots which then can be booked by others for theire events. You define how long a single slot is under How long is one slot?, just move the slider around, the duration might have a big impact on how people will use your space (think about a whole exhibition setup or a 5 minute action poem reading).
Additionally you can disable slots by clicking Edit slots under Manage available slots. Depending on your selected slot size you can click the slots now to turn them on or off. Disabled slots can’t be booked by others.
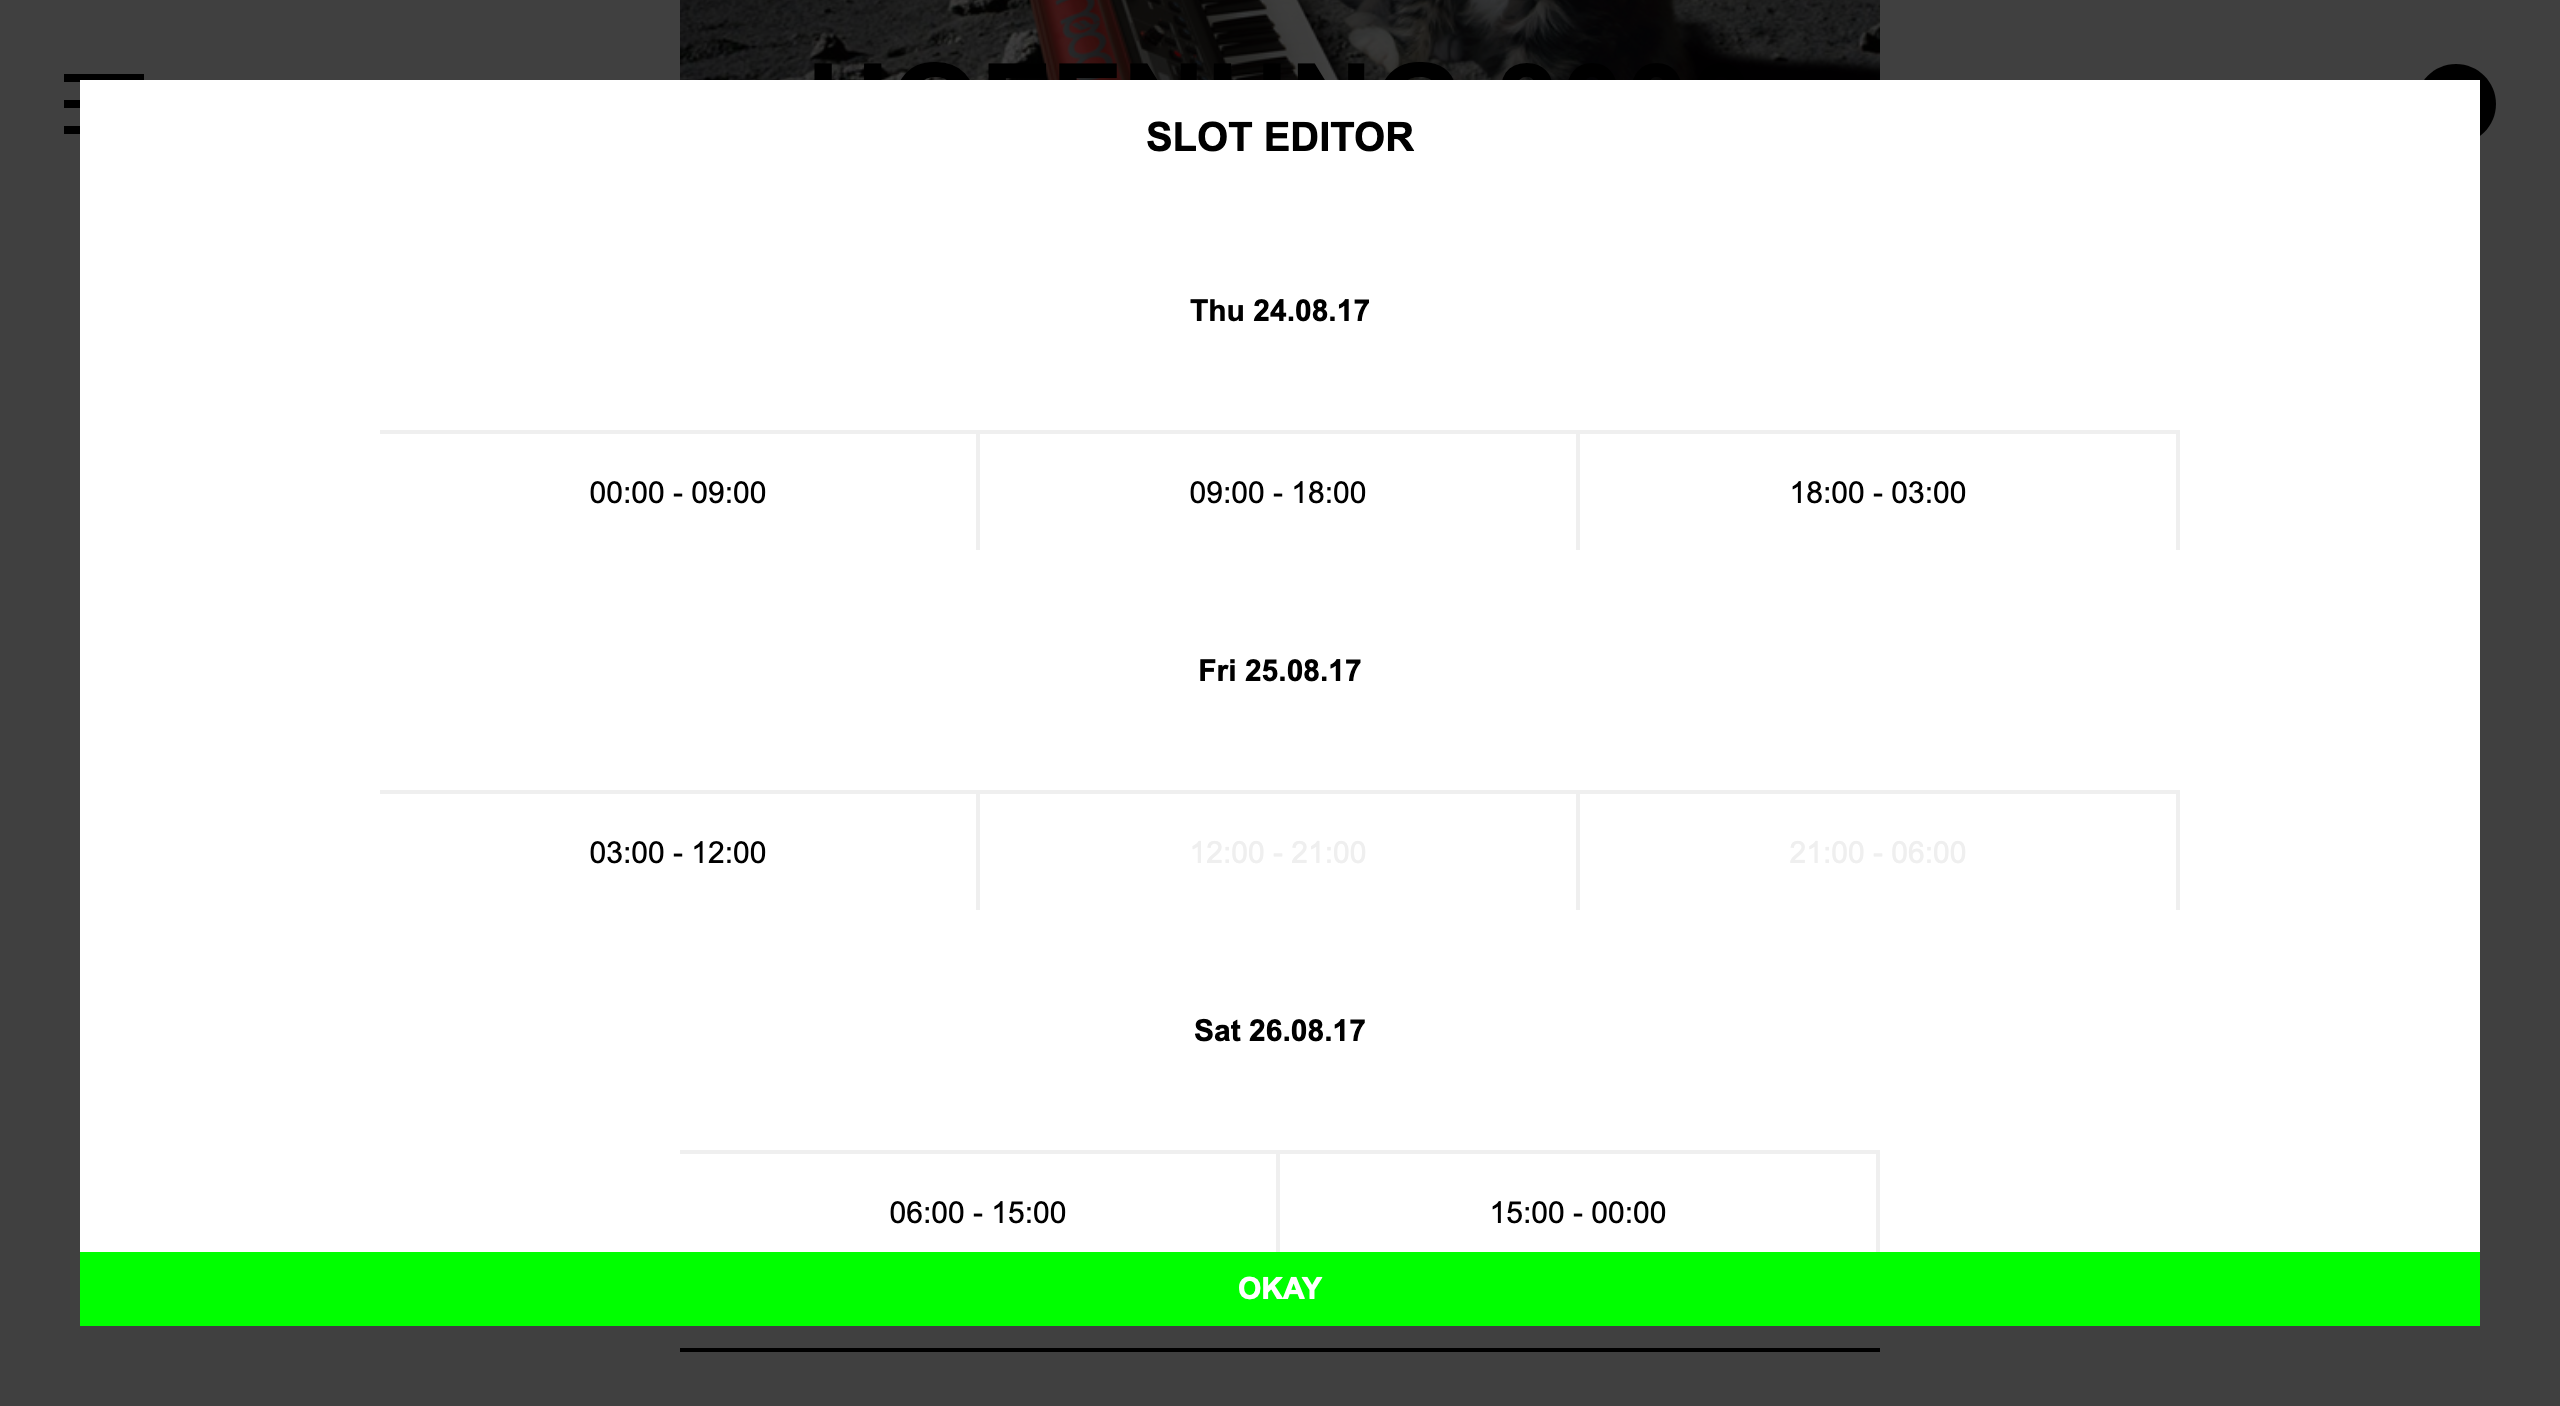
Please note that it is not possible to change the slot size after you created your place but you can still enable/disable single slots when they haven’t been booked yet.
Click Done! to finally register the place in the platform. You will automatically receive a message and email when someone requests it for an event.
Manage events
Under Calendar you find all created events by all users. Click on the single events to find more informations about them. Only registrated users can see these details and only participants can see private events.
Click Create Event to register your own in the calendar. You will be asked to fill out a title and description for the event, please upload a few pictures as well.
Click Select a place and choose from the list of all places which have been registrated so far. If you miss your needed place in that list, register it yourself before.
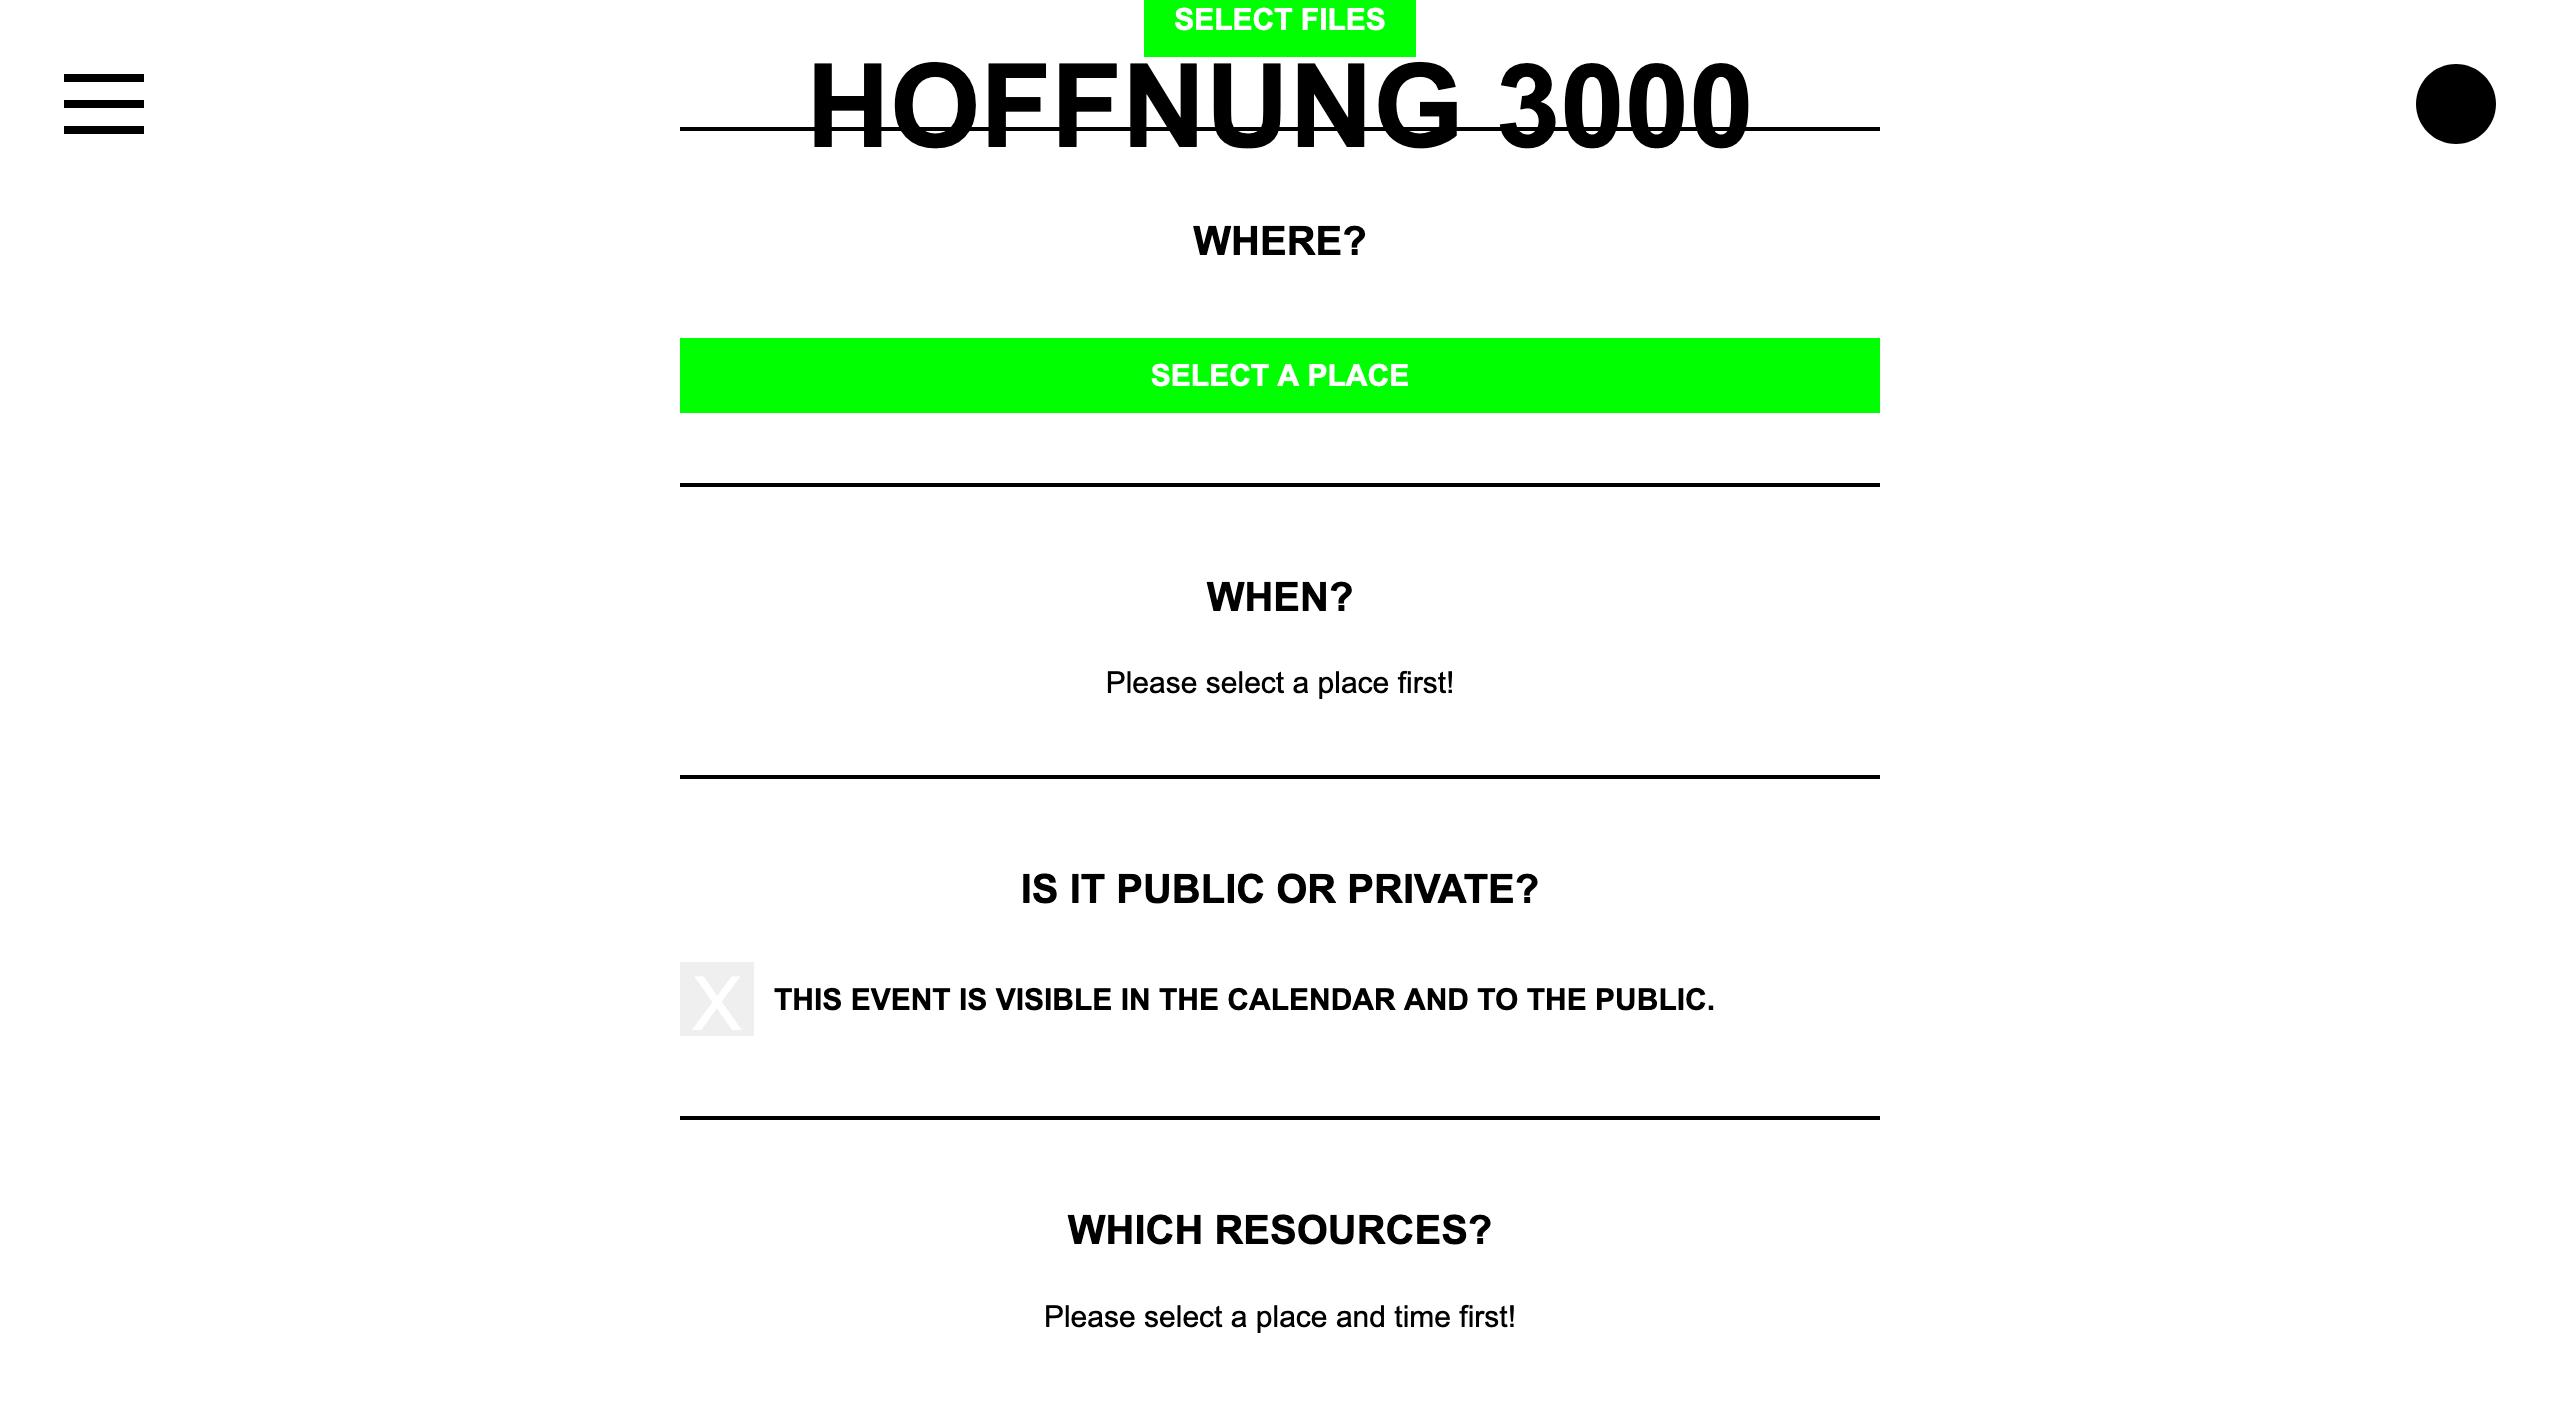
After selecting a place you can book one or more time slots from it, just make sure your needed time slots are not taken yet (they will appear red if so) or have been disabled by the owner (greyed out). You can’t choose timeslots which are not in closed order.
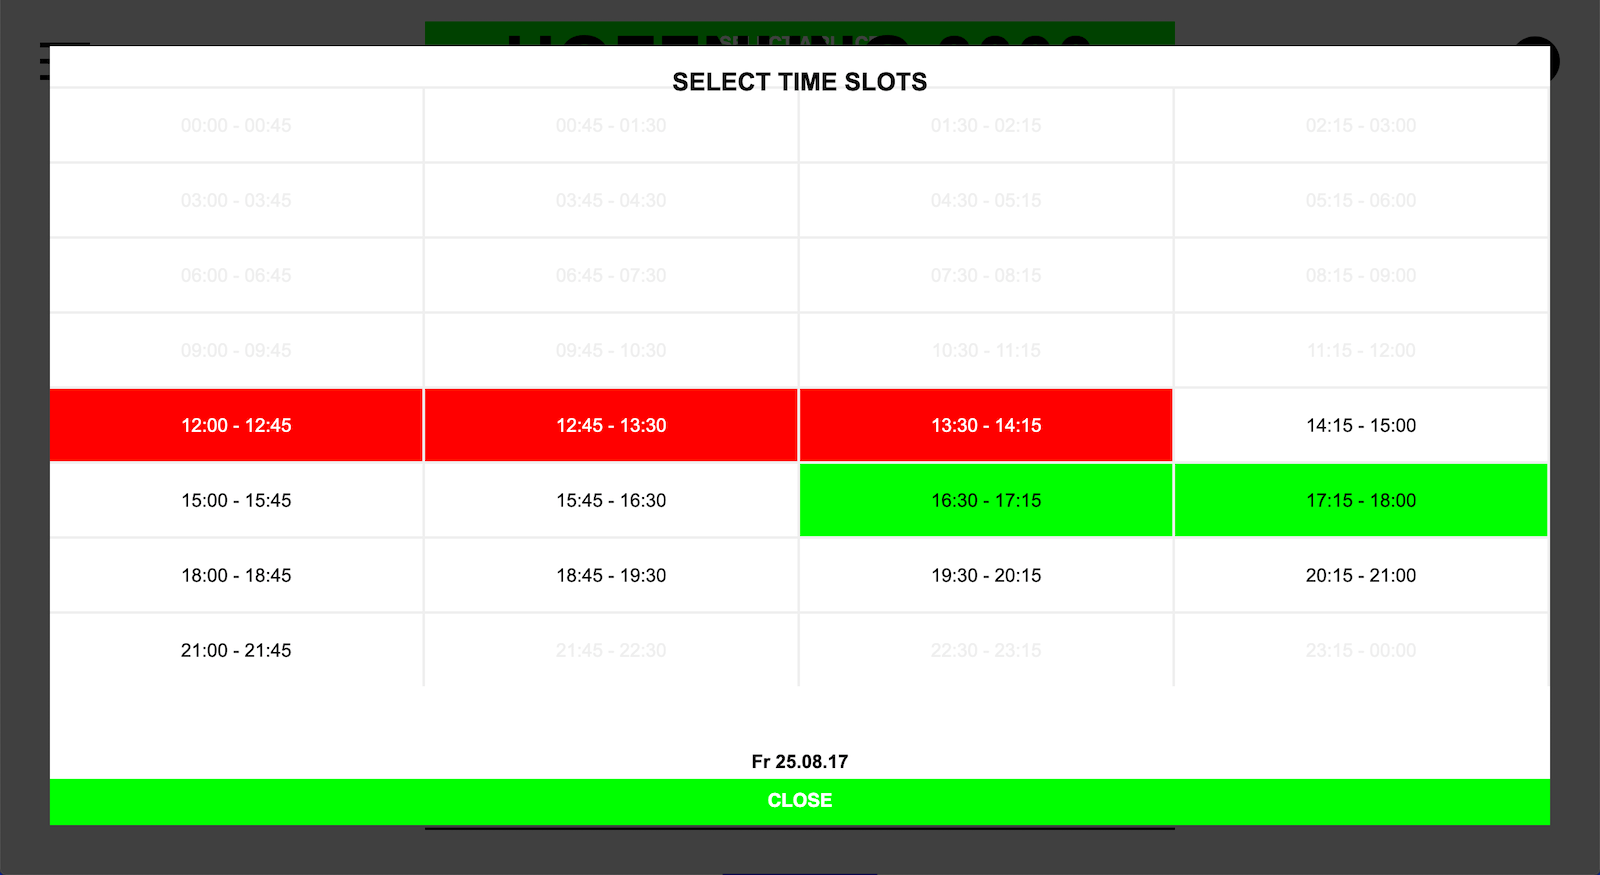
Please define now if your event is public or private. If you choose a private place your event will automatically be marked as private, which means it will only be visible to other participants and not visitors.
Click Select Resources to book things you need to realize your event. The items on the right hand side are all registrated resources of the platform, on the left you find the ones you selected for your event. Click Add to move a resource to your side. Some resources might be in use at your defined time, they will be marked as Not available then. Click Remove if you want to unselect a resource.
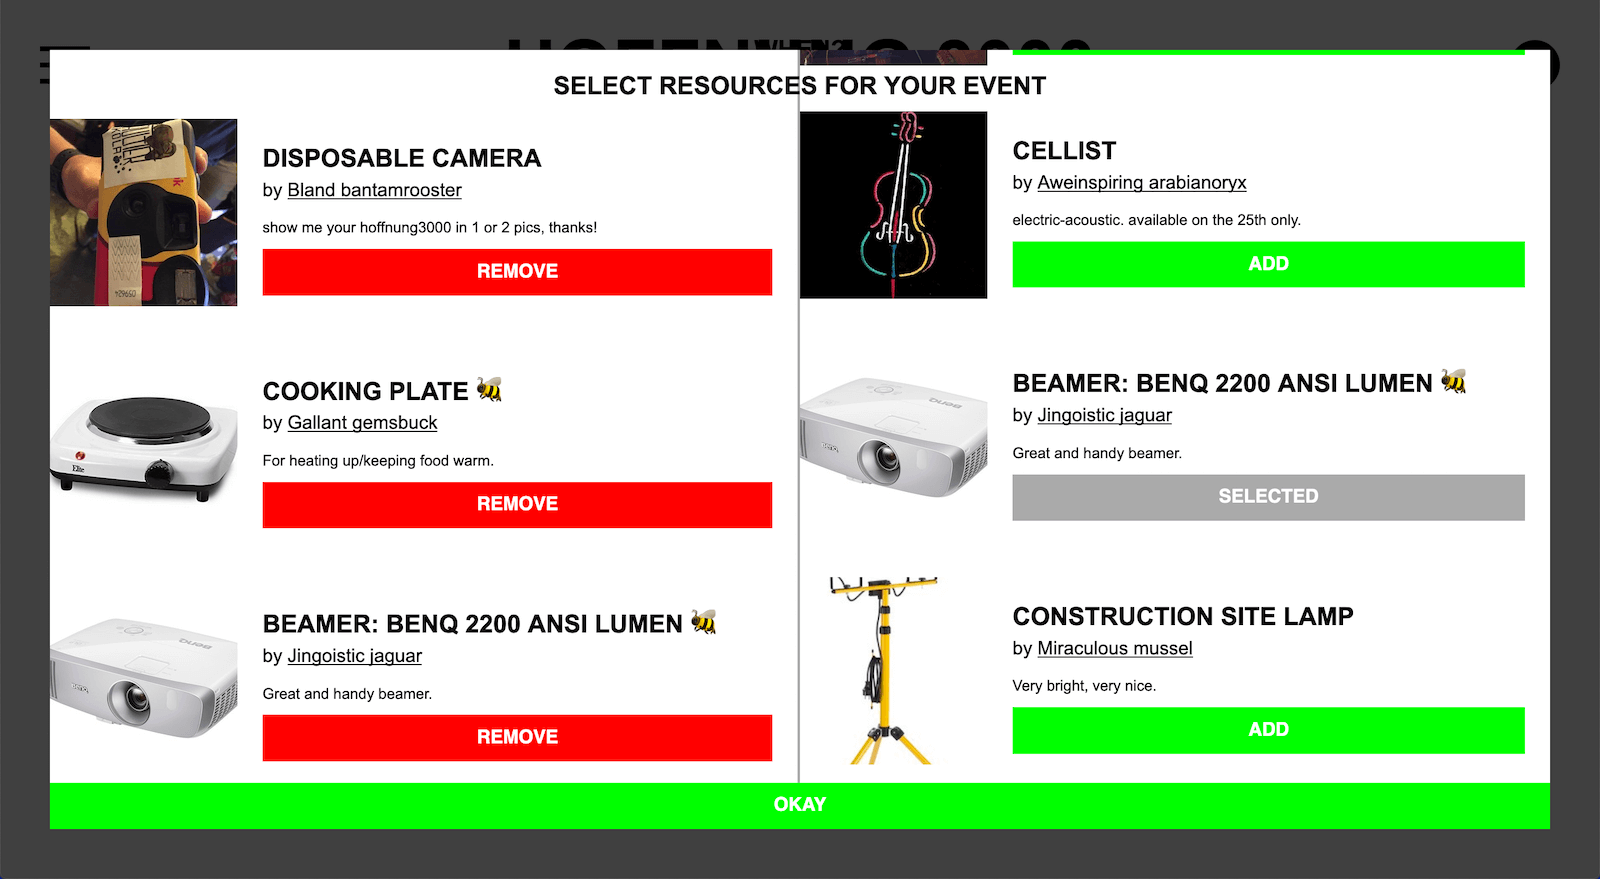
To finalize your event click Save event. It will be registrated in the calendar and all regarding place and resource owners are notified now about your requests. Please contact them by clicking on theire names if you have further questions.
Sidebar
The sidebar to the right holds all social features of the platform like messaging, activities of others, the random meeting feature or documentation tools.

Inbox and messages
The internal messaging system enables you to ask other participants about their resources, places and events. Just click on a name of a user and the messenger will automatically start a new conversation or open an already existing one.
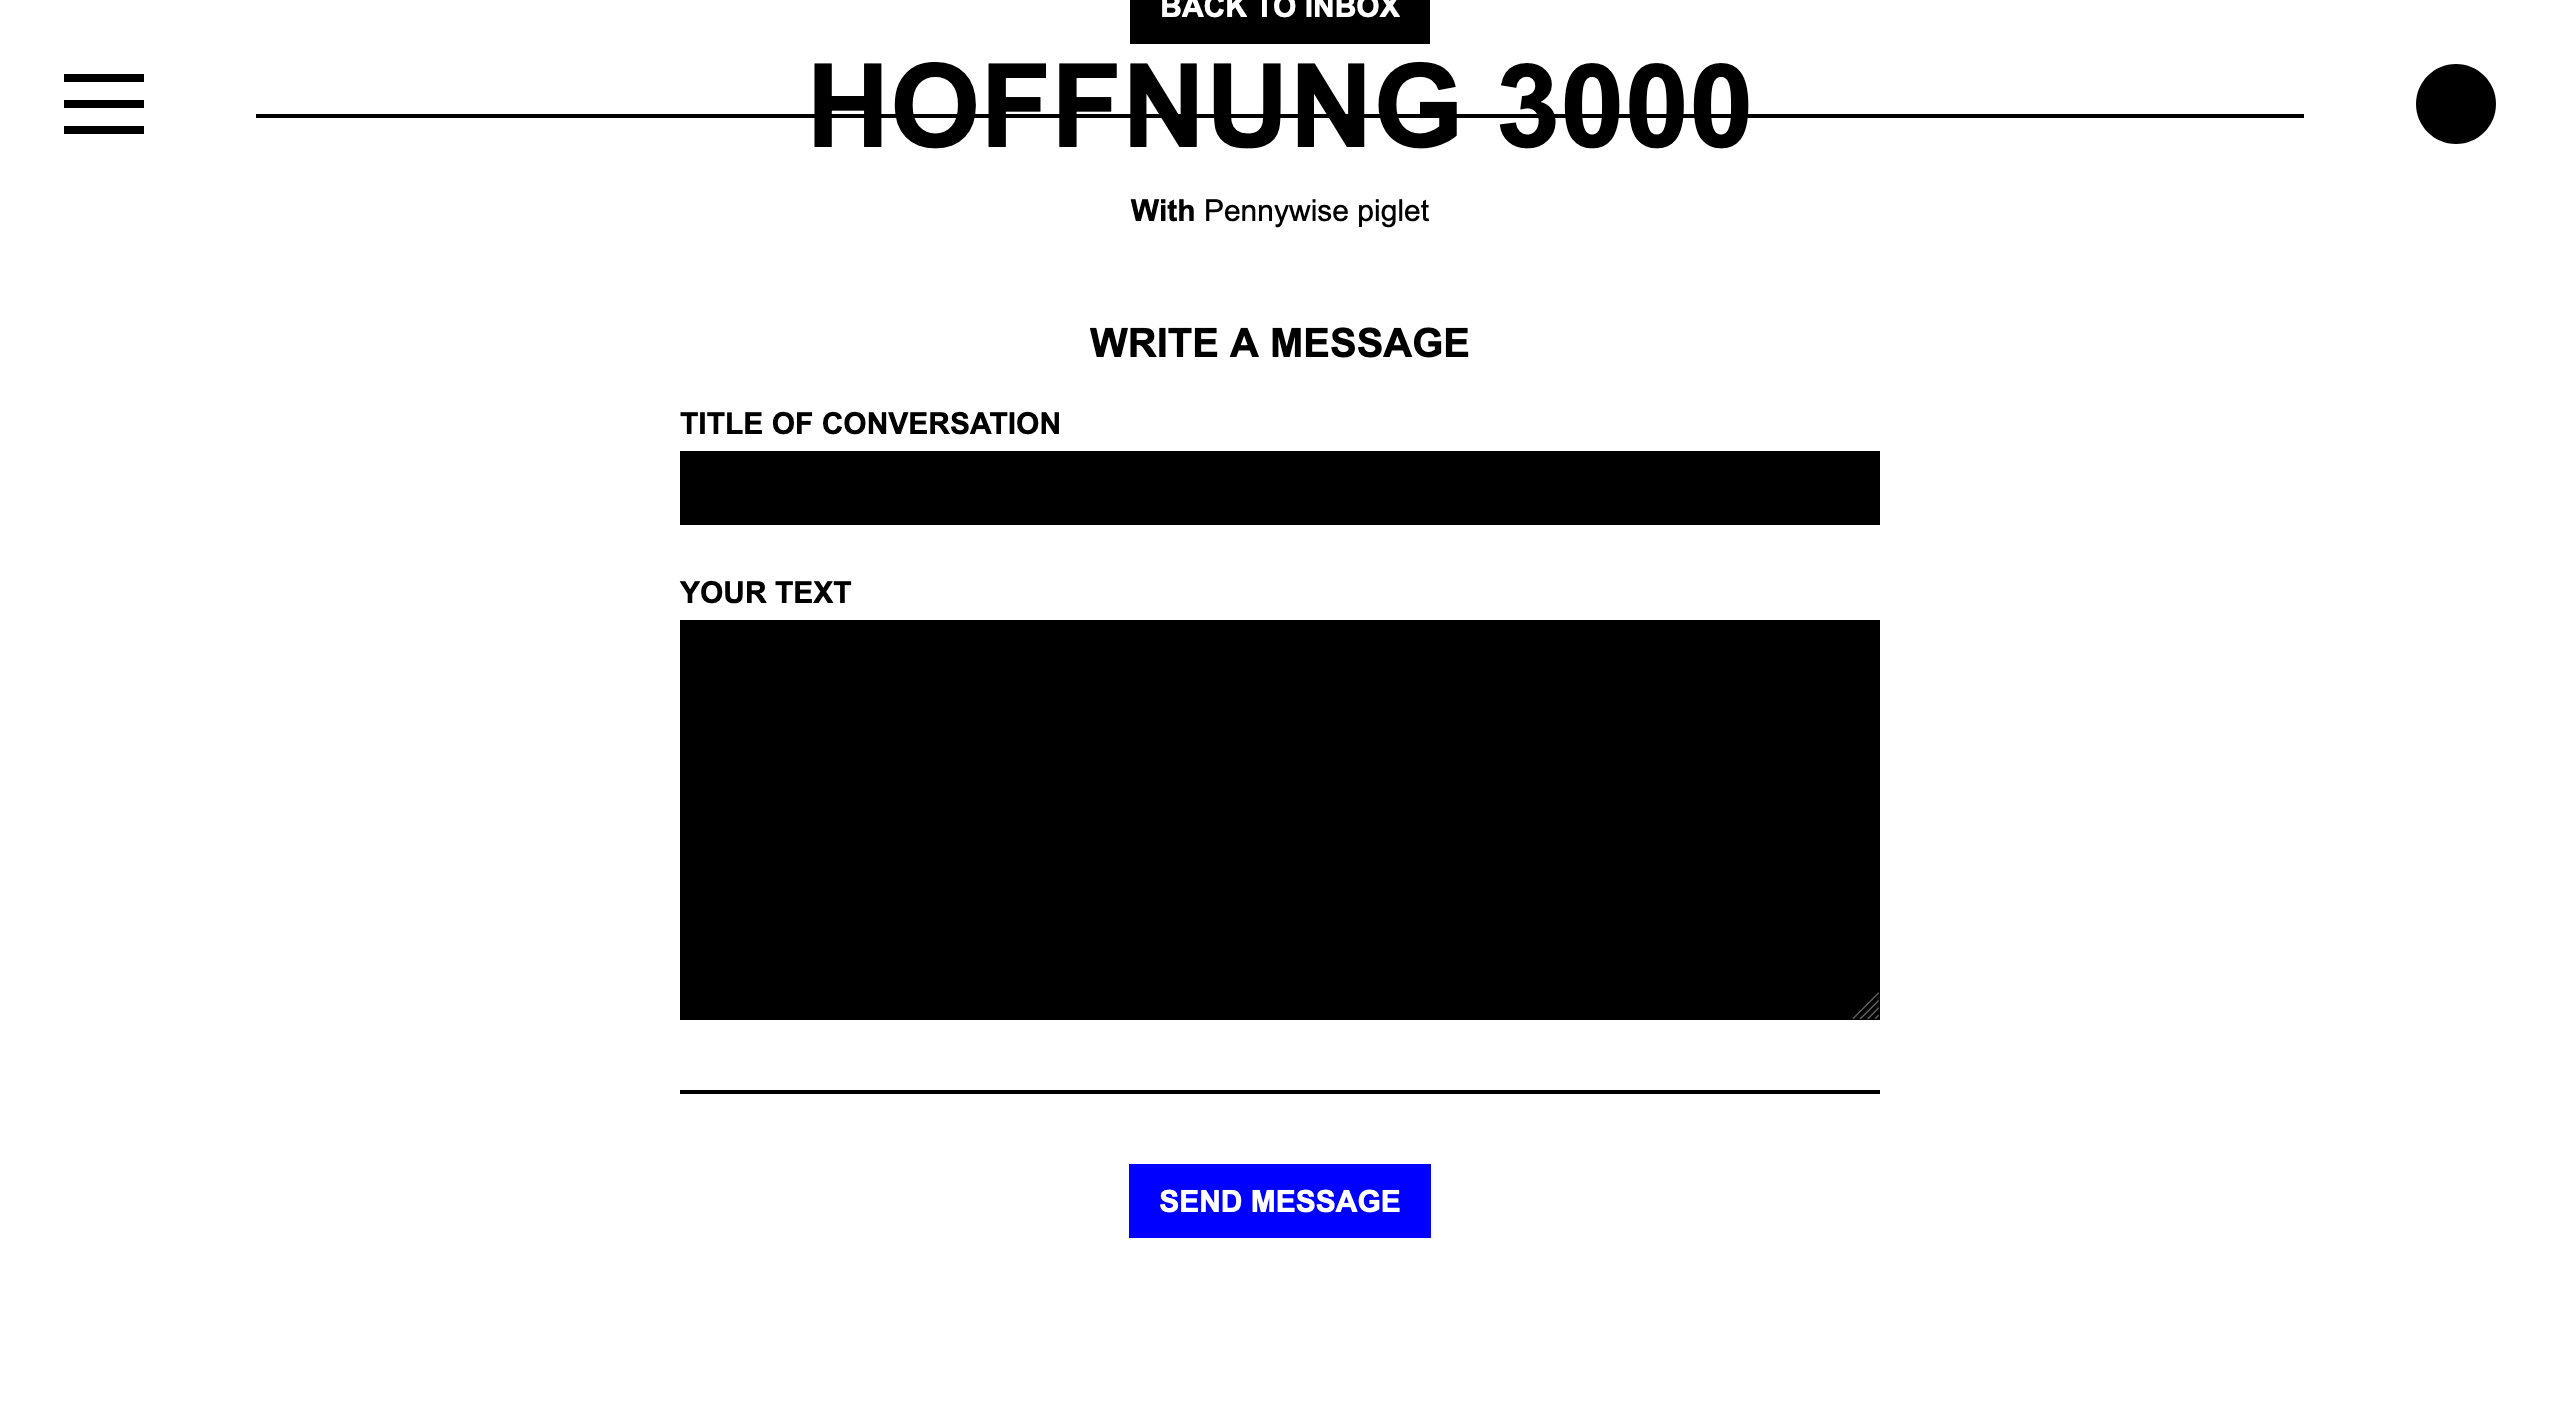
When you receive a new message you will get notified with a little rainbow box and the upper right circle will turn outlined.
Click on Inbox in the sidebar to get an overview of all your current conversations.
Activity stream
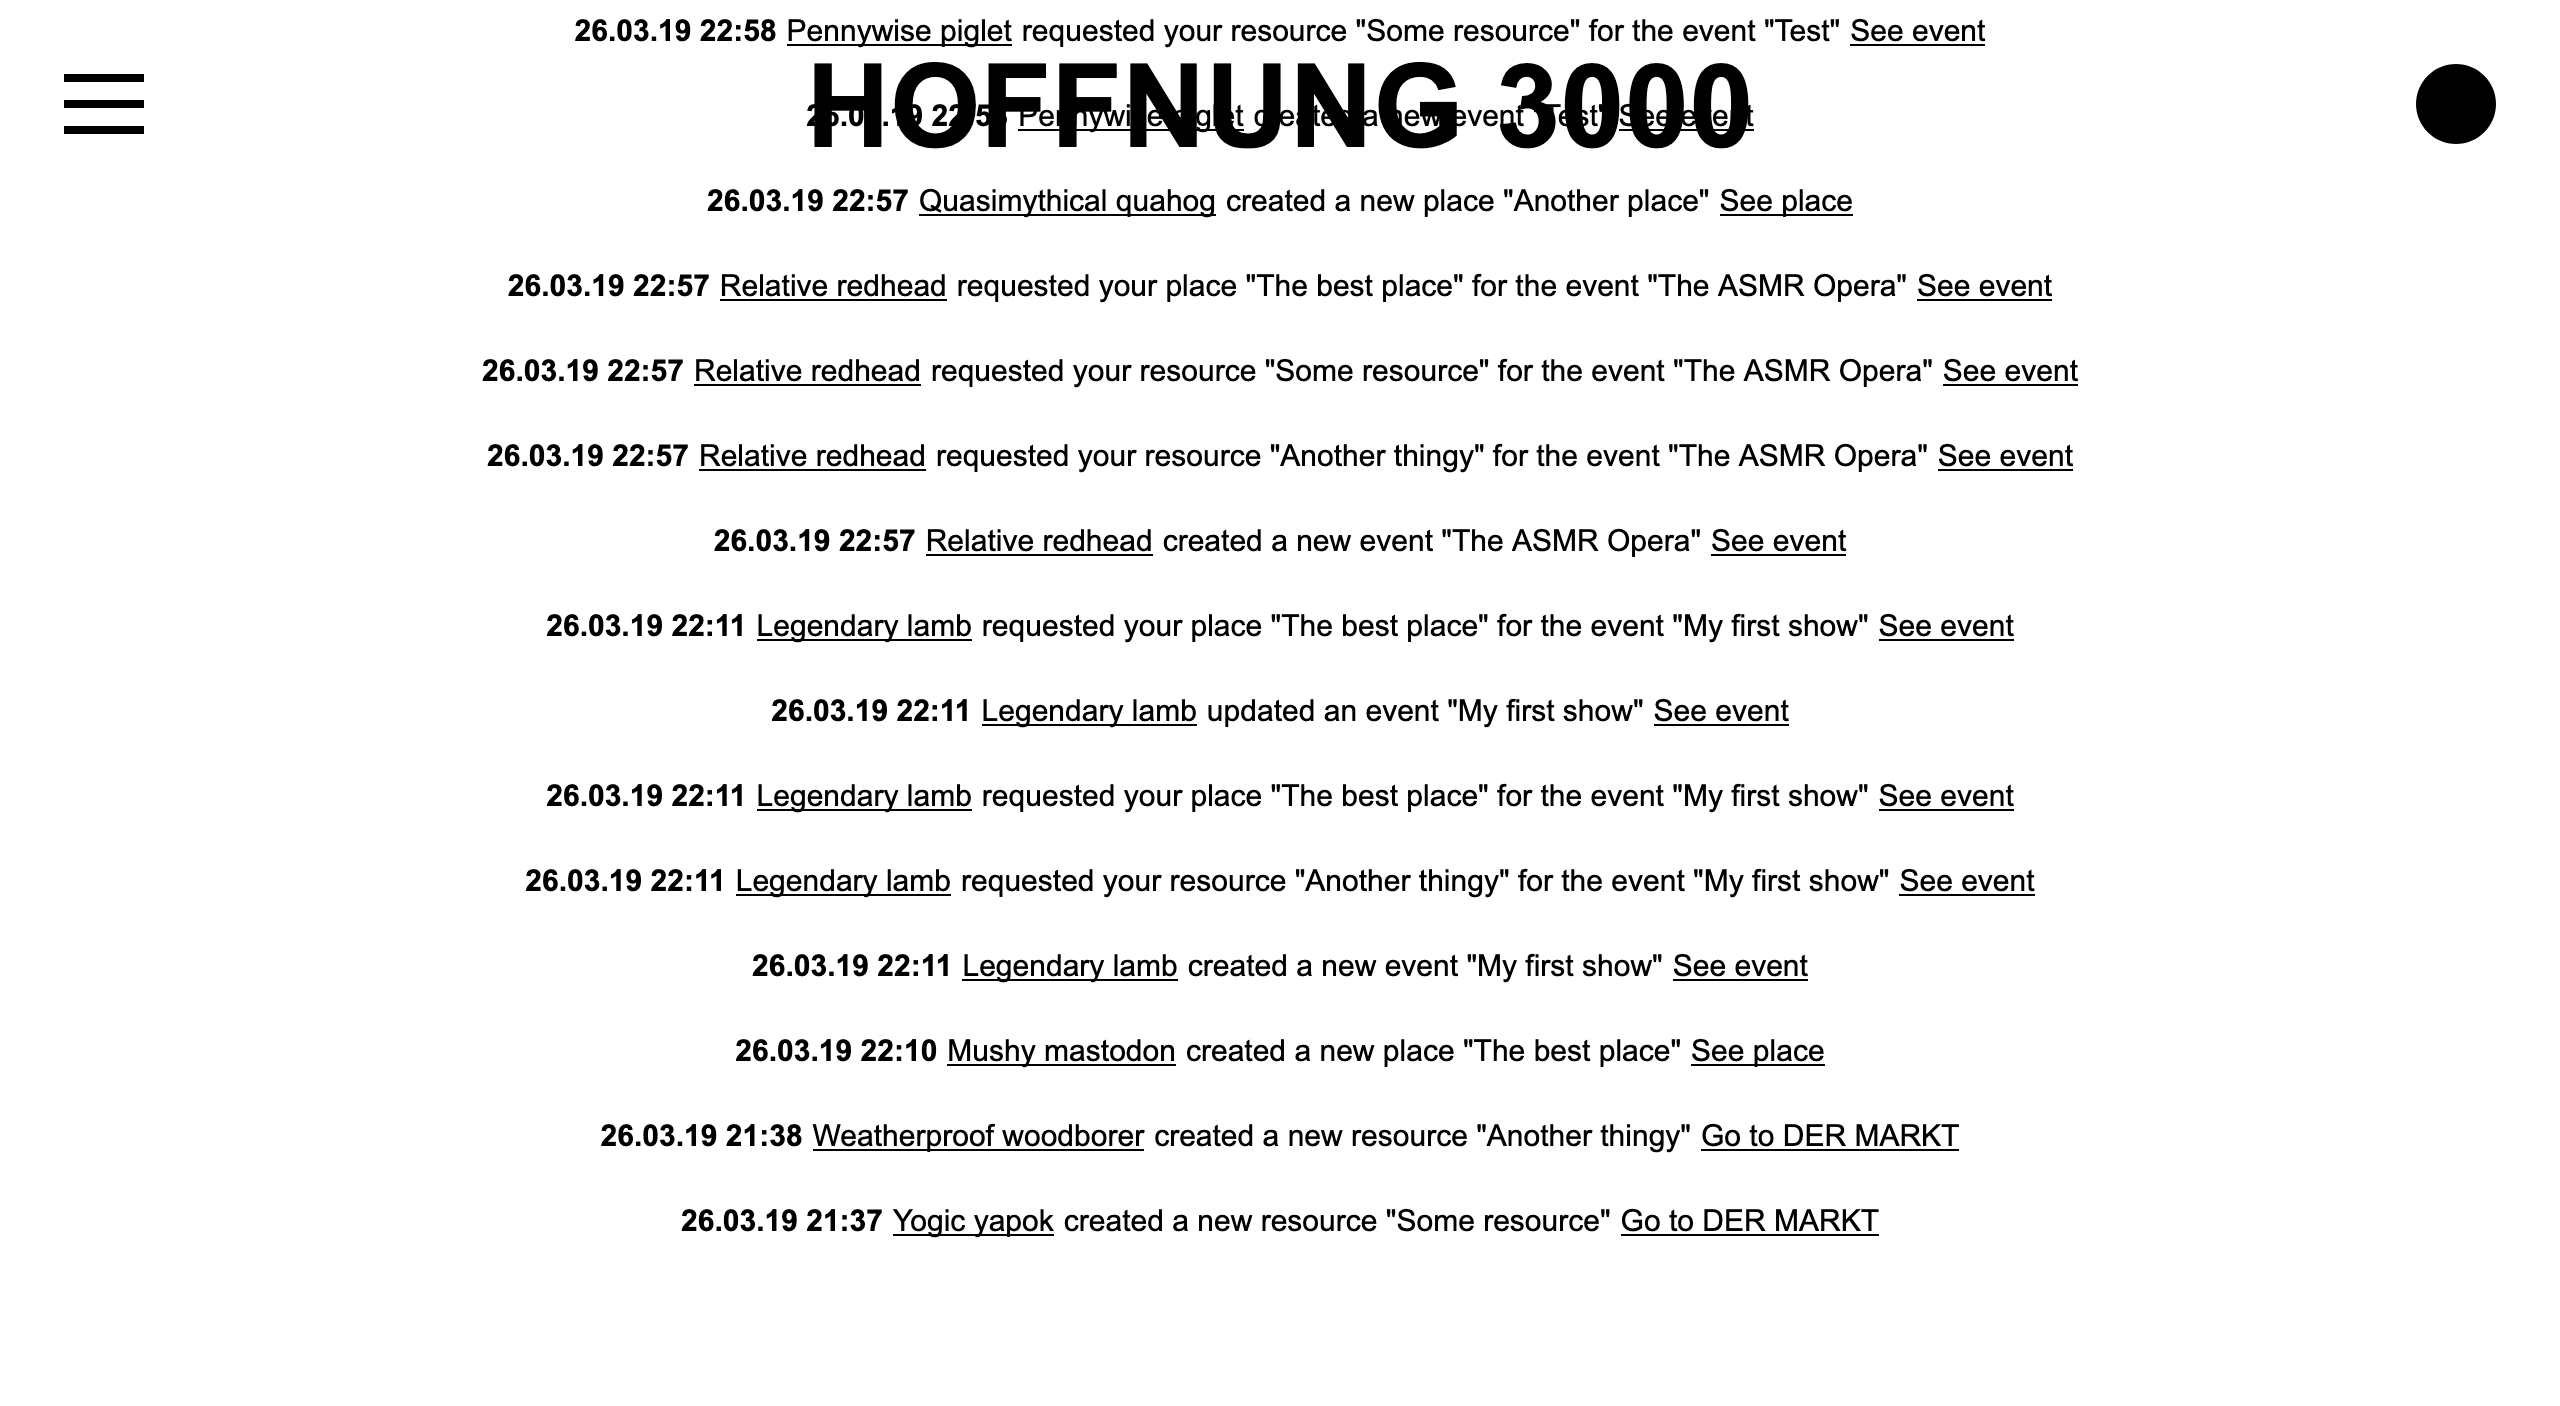
To get an overview about what is currently happening on the platform you can check out the activity stream by opening the sidebar. The latest activites are displayed there. To see them all you can click All activities.
Here you will see when someone created, updated or deleted a resource, event or place. You will also get notified about random meetings or new messages.
Random meetings
Random meetings are exactly what you think: A random meeting with random participants at a random place. The only thing you can narrow down is a time.
Open the sidebar and select a preferred time under Random meetings. Select Anytime if you just want to find the next available one.
Click Request random meeting. HOFFNUNG 3000 will check if there is already a random meeting being created in the requested time, if not it will create a new one for you.
With a random meeting a new conversation is automatically created for you. In this conversation you will get notified about the final time and place. All other participants who joined in will also join that conversation. Use this to prepare yourself for the random meeting :-)
.gif stream
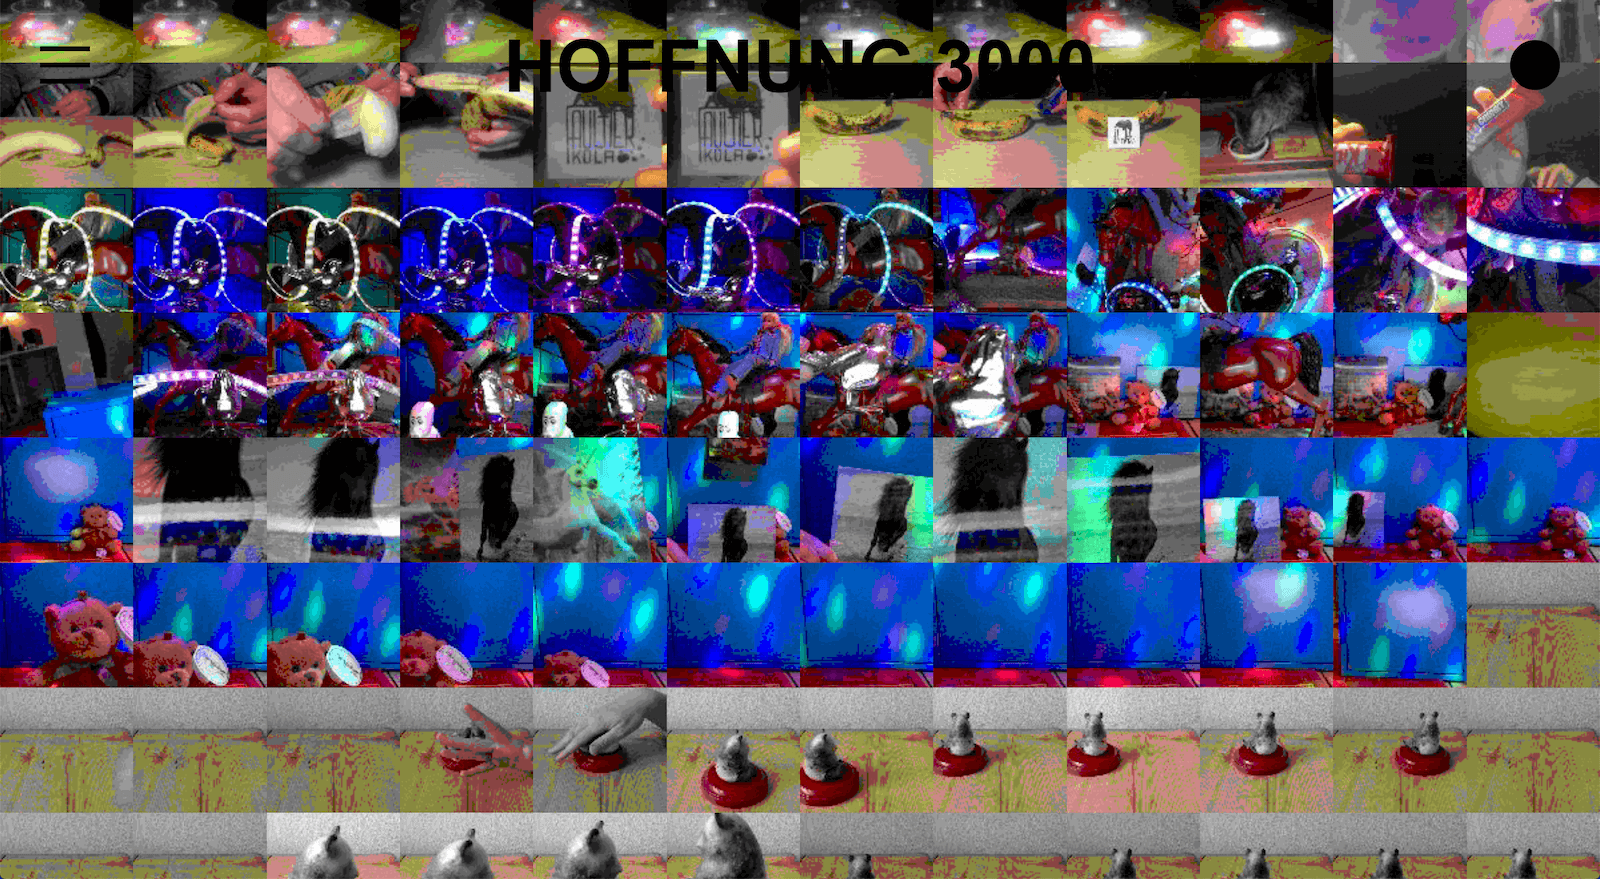
The gif stream is a special way to document the whole festival by making use of all participant cameras installed in theire tablets, smartphones or notebooks.
By starting the stream you will be asked to authorize permissions to use the camera so the plattform can take a picture every 10 seconds. All taken pictures are slowly processed into a gif. This gif will be visible under Stream in the main navigation and visible to all other participants and visitors.
Please note that it takes a little while until your images are visible.
Change profile
Here you can change your password.
Admin
Change the default admin user
After a fresh install and database setup an initial admin user was created for you. You should change that user after the installation:
-
Log in with the initial admin user account, Email:
admin@domain.com, Password:adminadmin -
Change your password by clicking
Profileat the bottom of the sidebar -
Open the navigation and click
Admin, then clickUsers, select your user by clickingEdit, change the email address to your own, now clickSave
Manage users
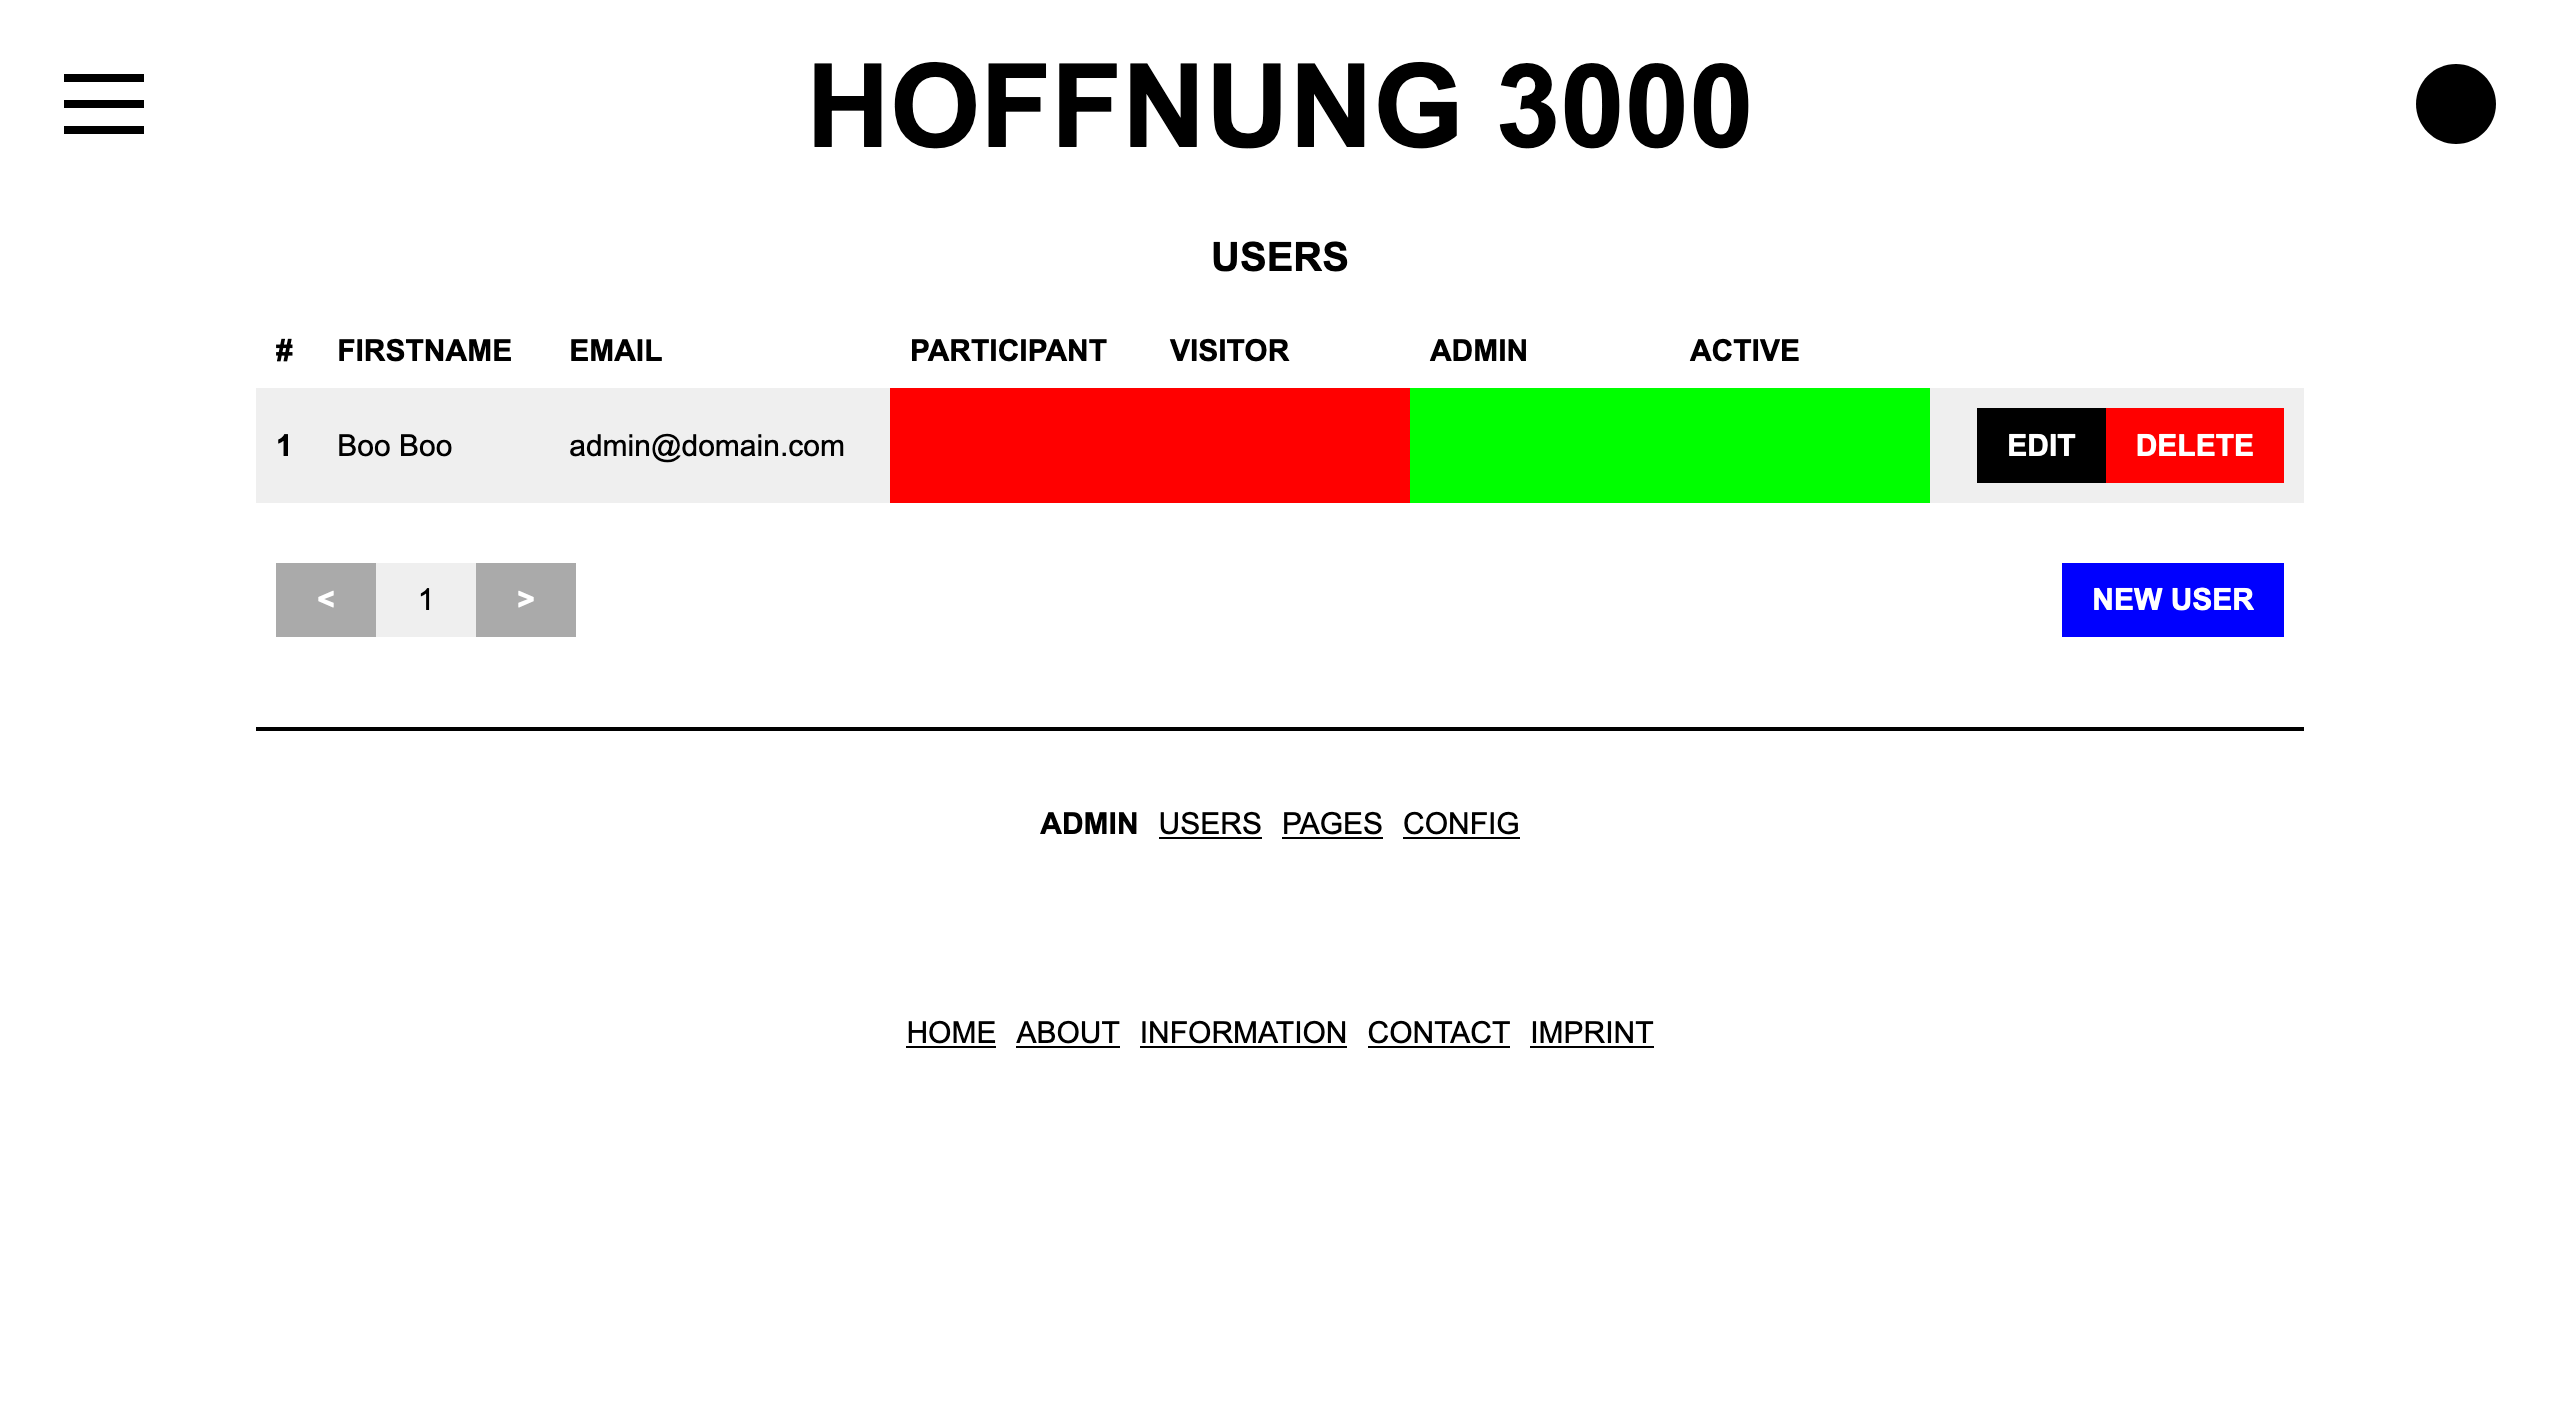
Click on Users in the Admin page and select a given user via Edit or create a new one by clicking New User.
You can define the users address, name and contact details. Use the Administrator, Participates at festival or Visitor checkboxes to assign permissions to the user. Click Account is enabled (Payment accepted) to activate the account (otherwise the user wont be able to log in).
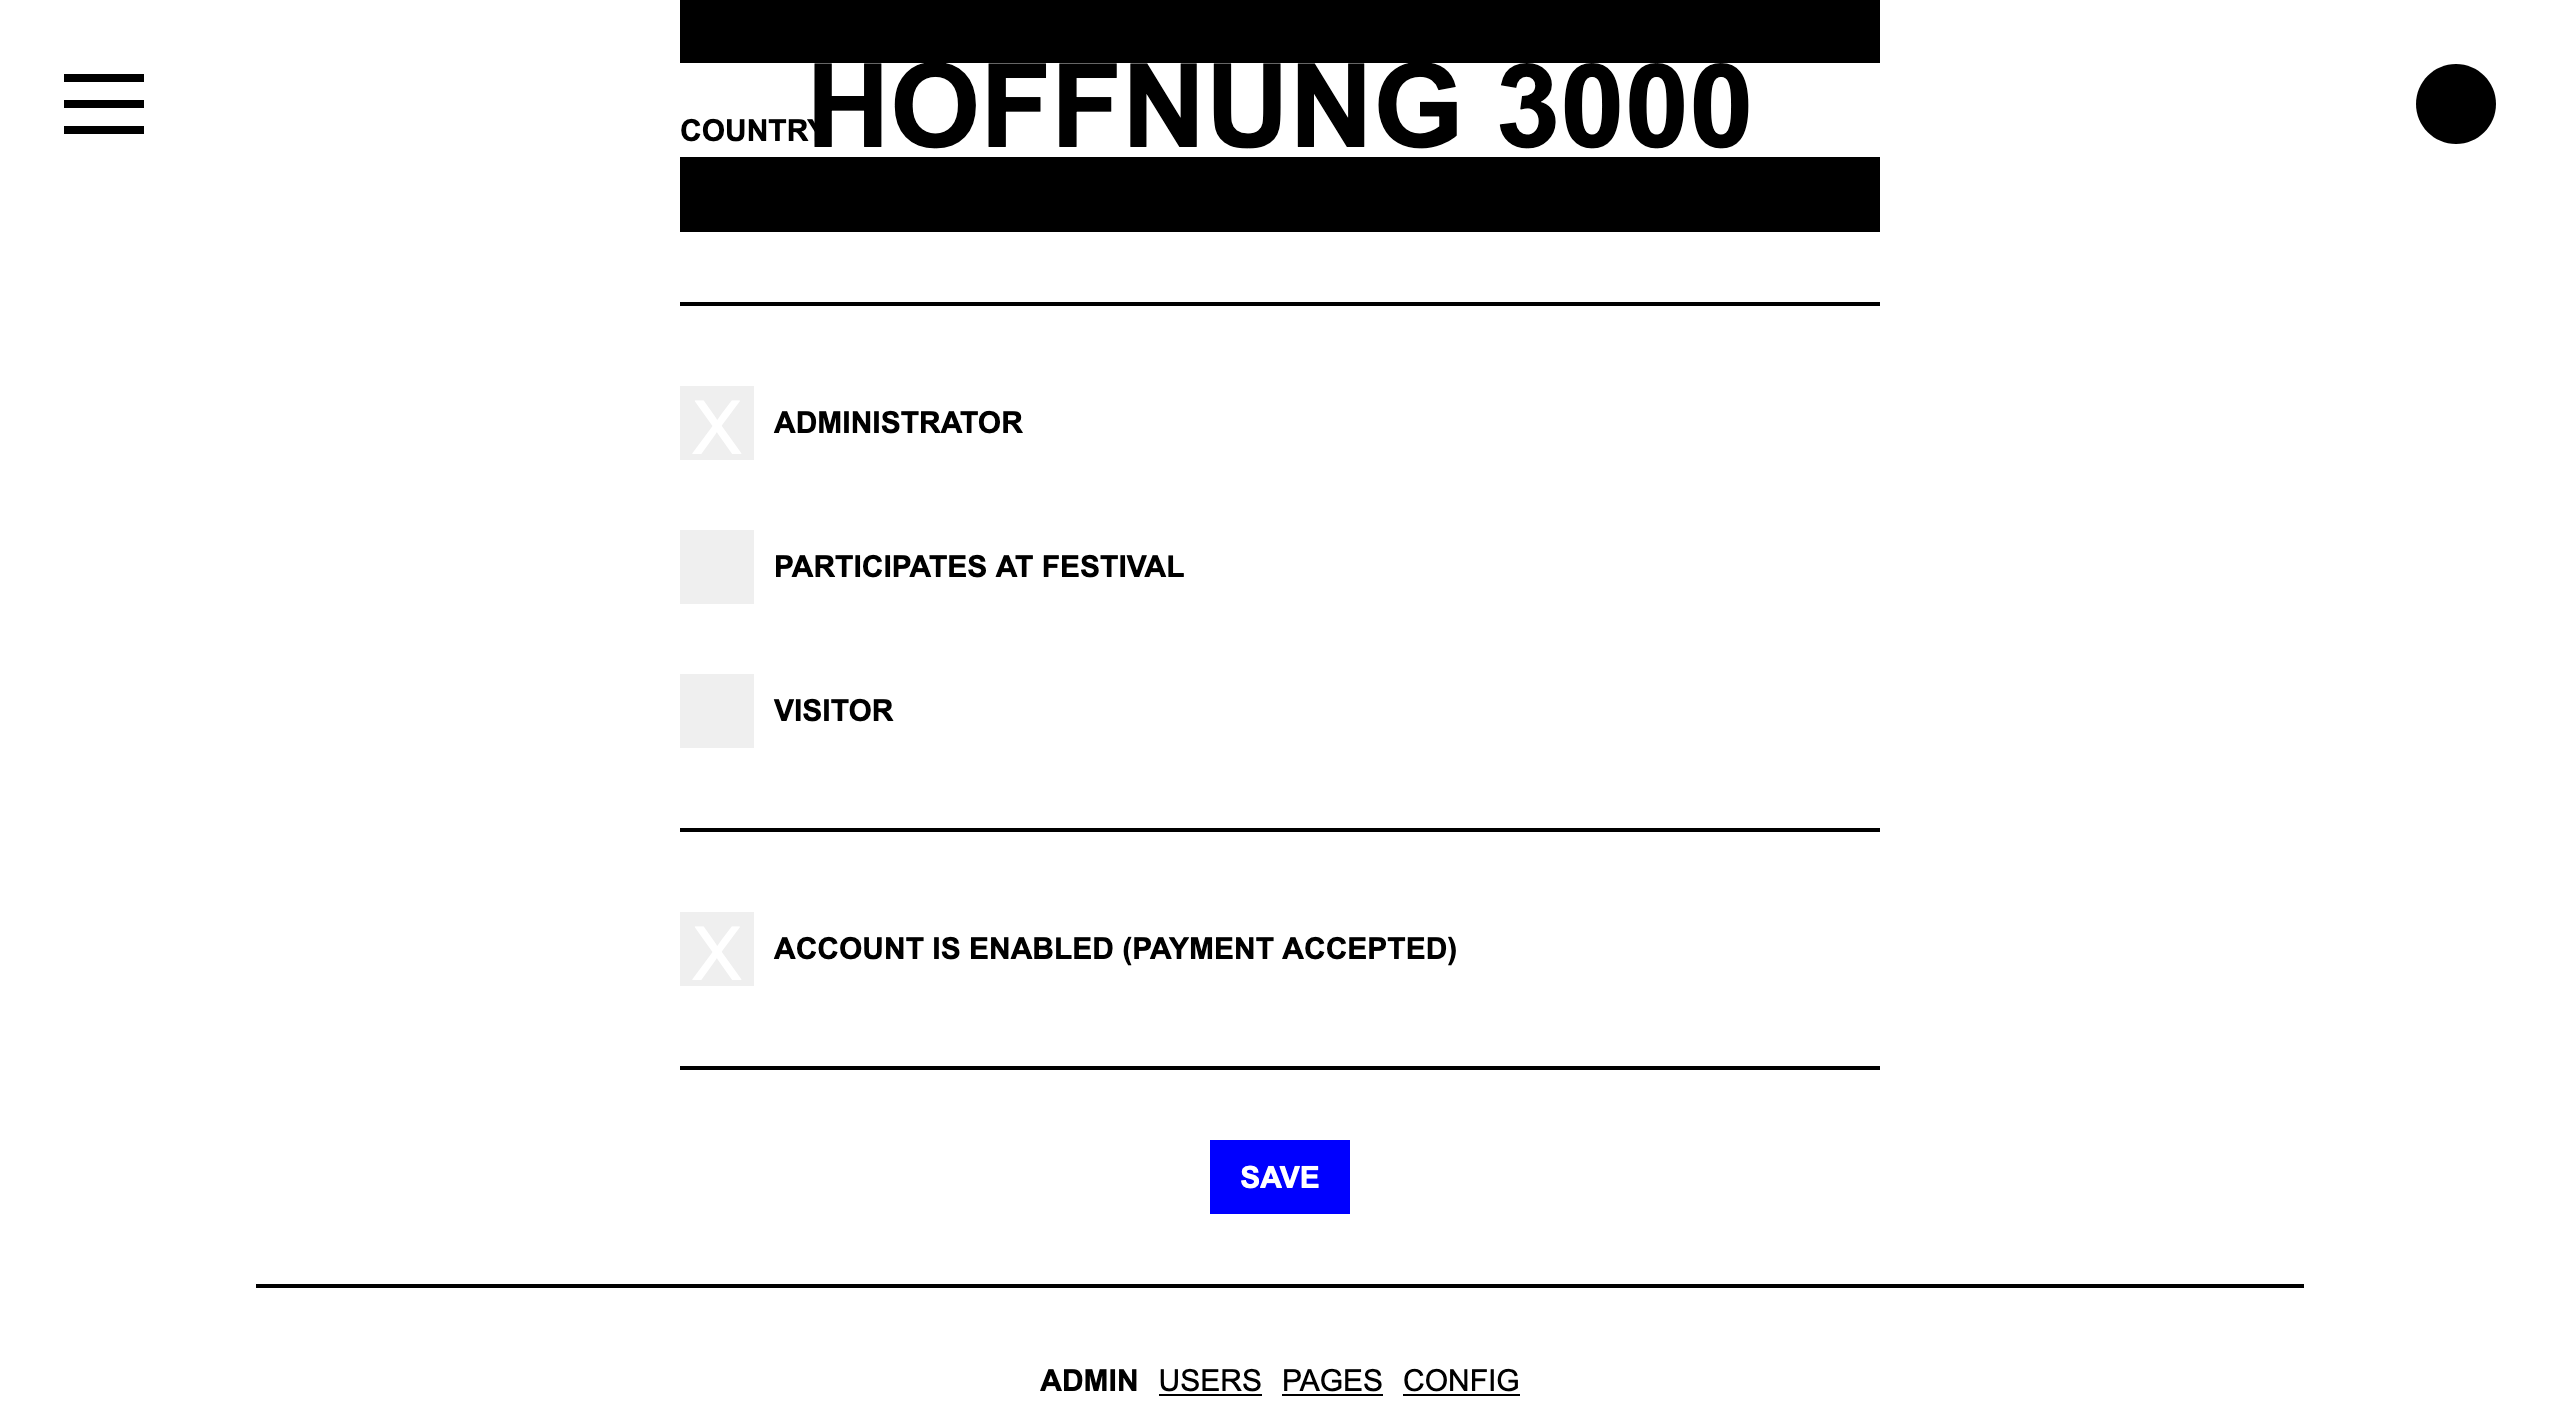
Use the activation checkbox to handle for example bank wire transfers for ticket sales. Users who bought their tickets via PayPal are automatically activated on successful checkout.
Change texts
Click on Pages in the Admin page to change the contents of all pages. Use Markdown to format your texts.
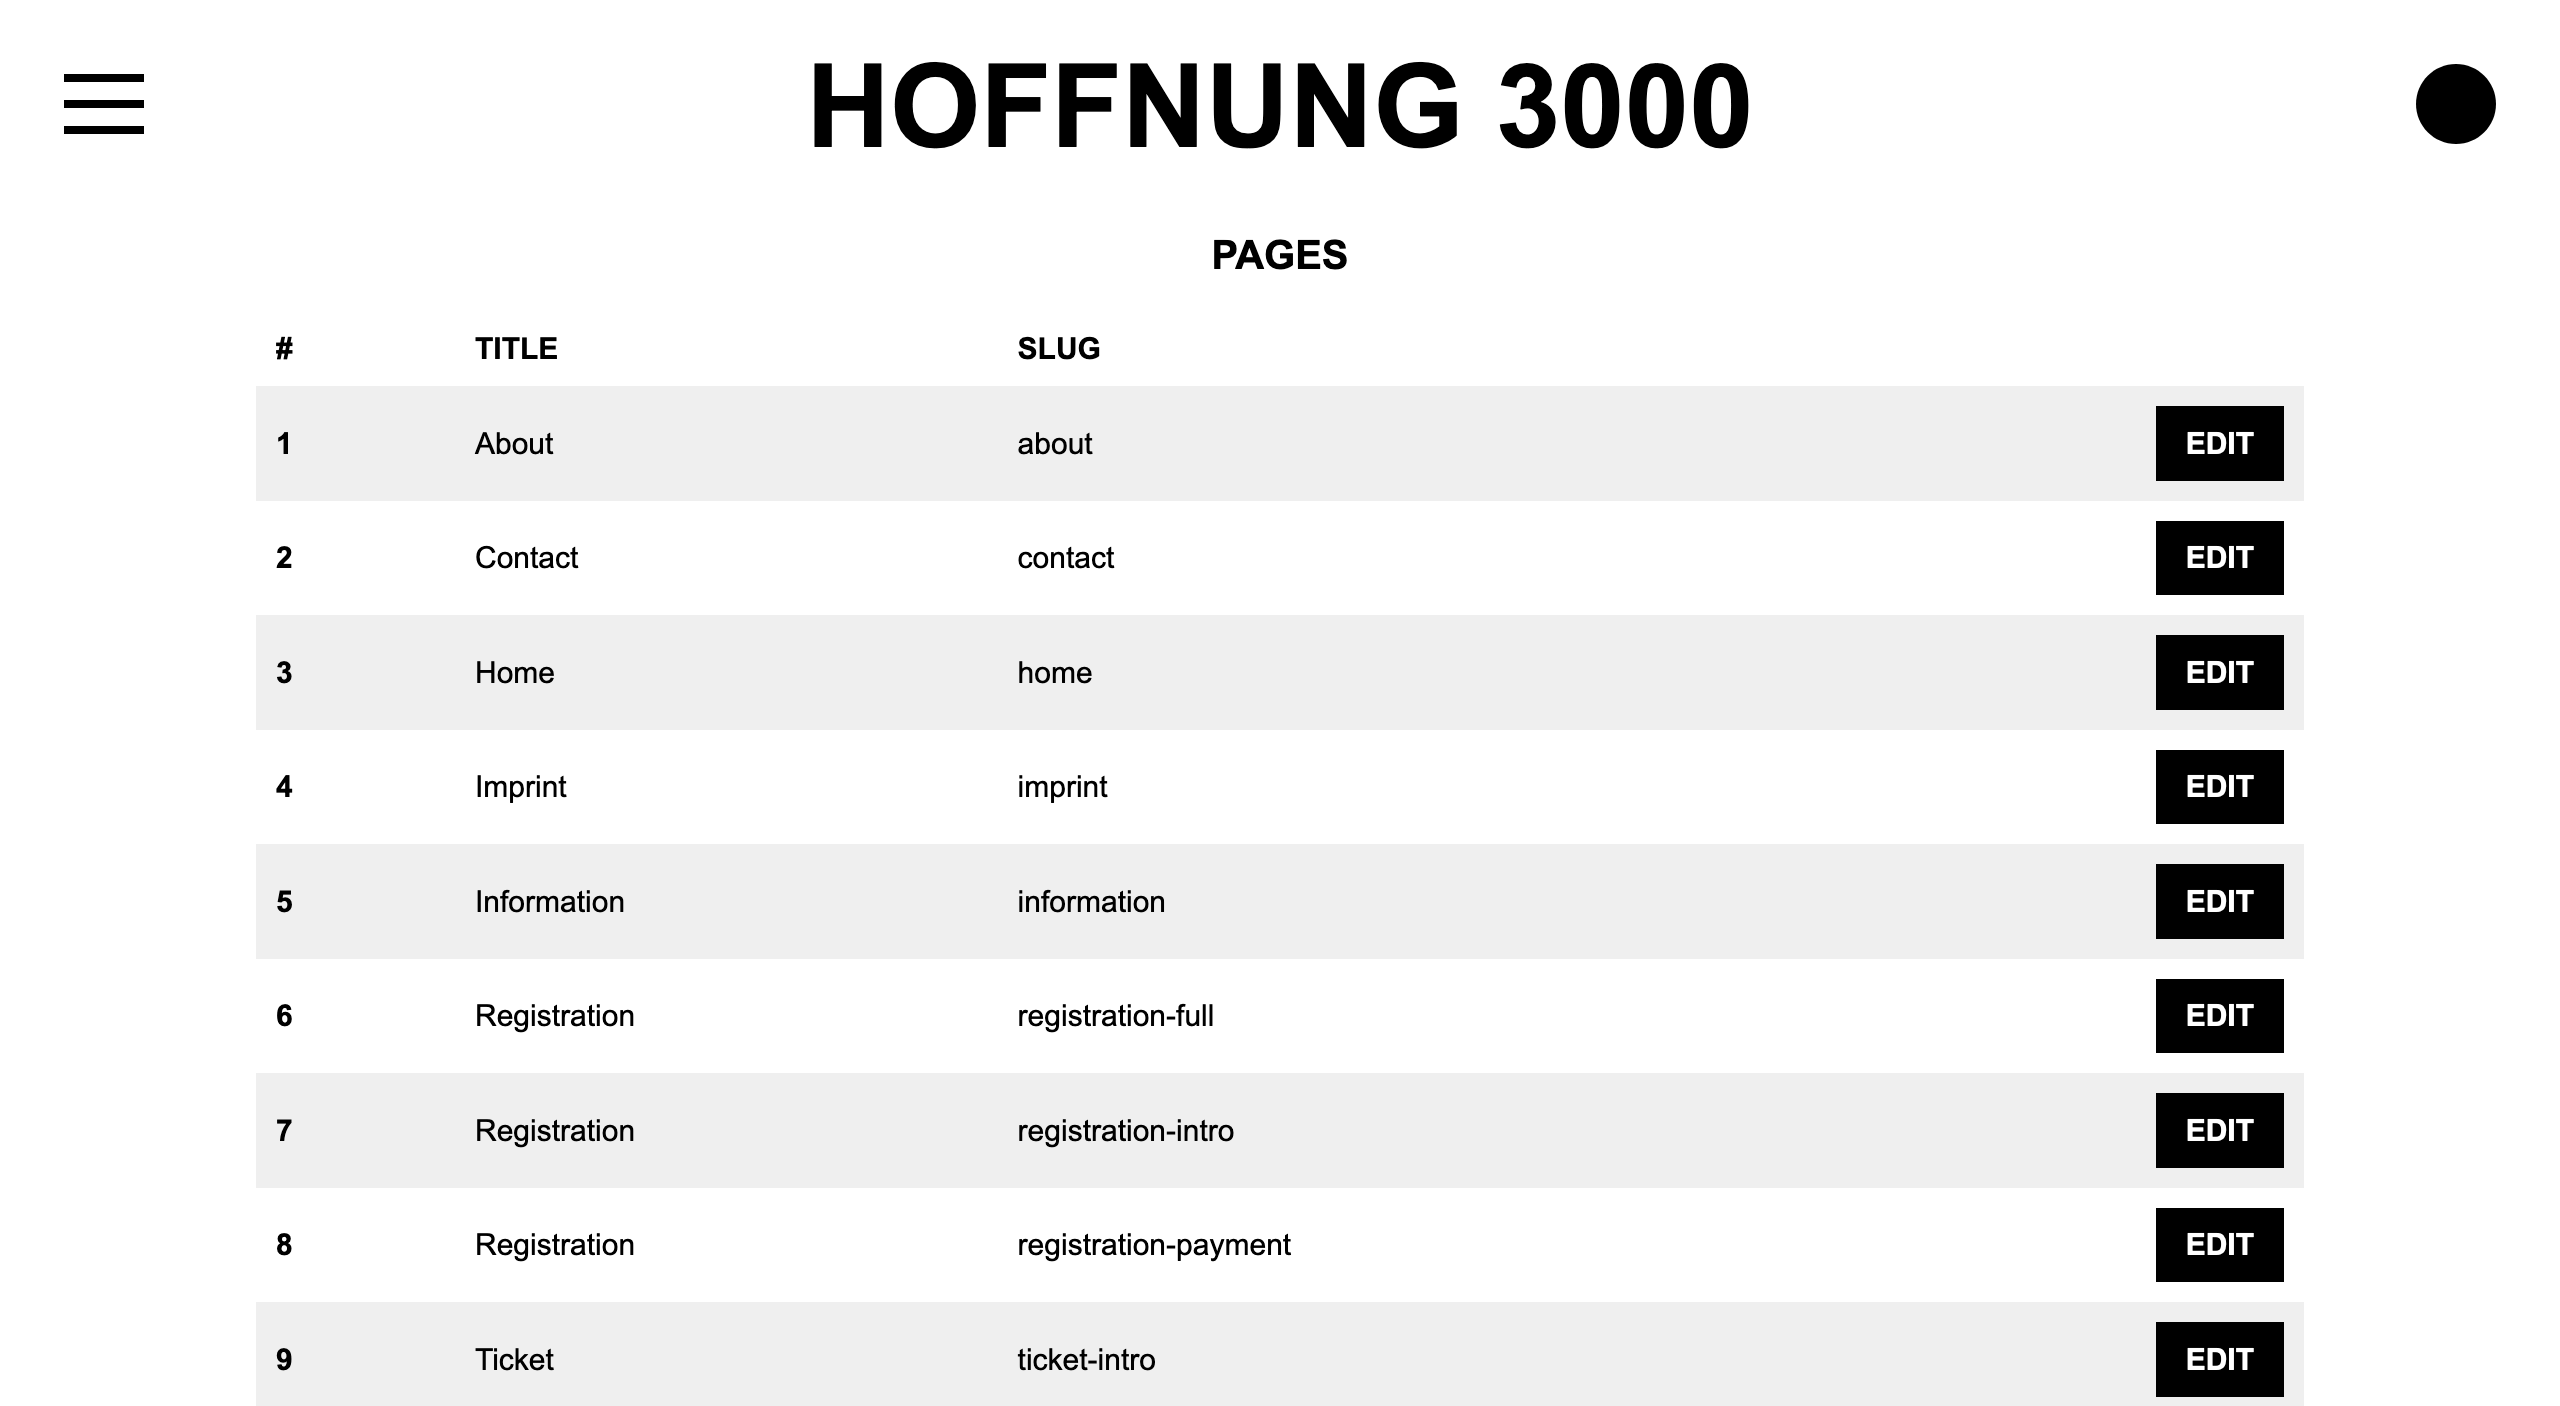
Some pages have different variations, depending on the context:
registration-fullis shown when the number of max. partipants has been reached,registration-introdisplayed right in the beginning of participation sign up andregistration-paymentduring checkoutticket-introis shown for the ticket sales page,ticket-paymentduring ticket checkoutcalendar-publicis a text which will be displayed to calendar visitors who are not logged in,calendaris shown when the users are logged in
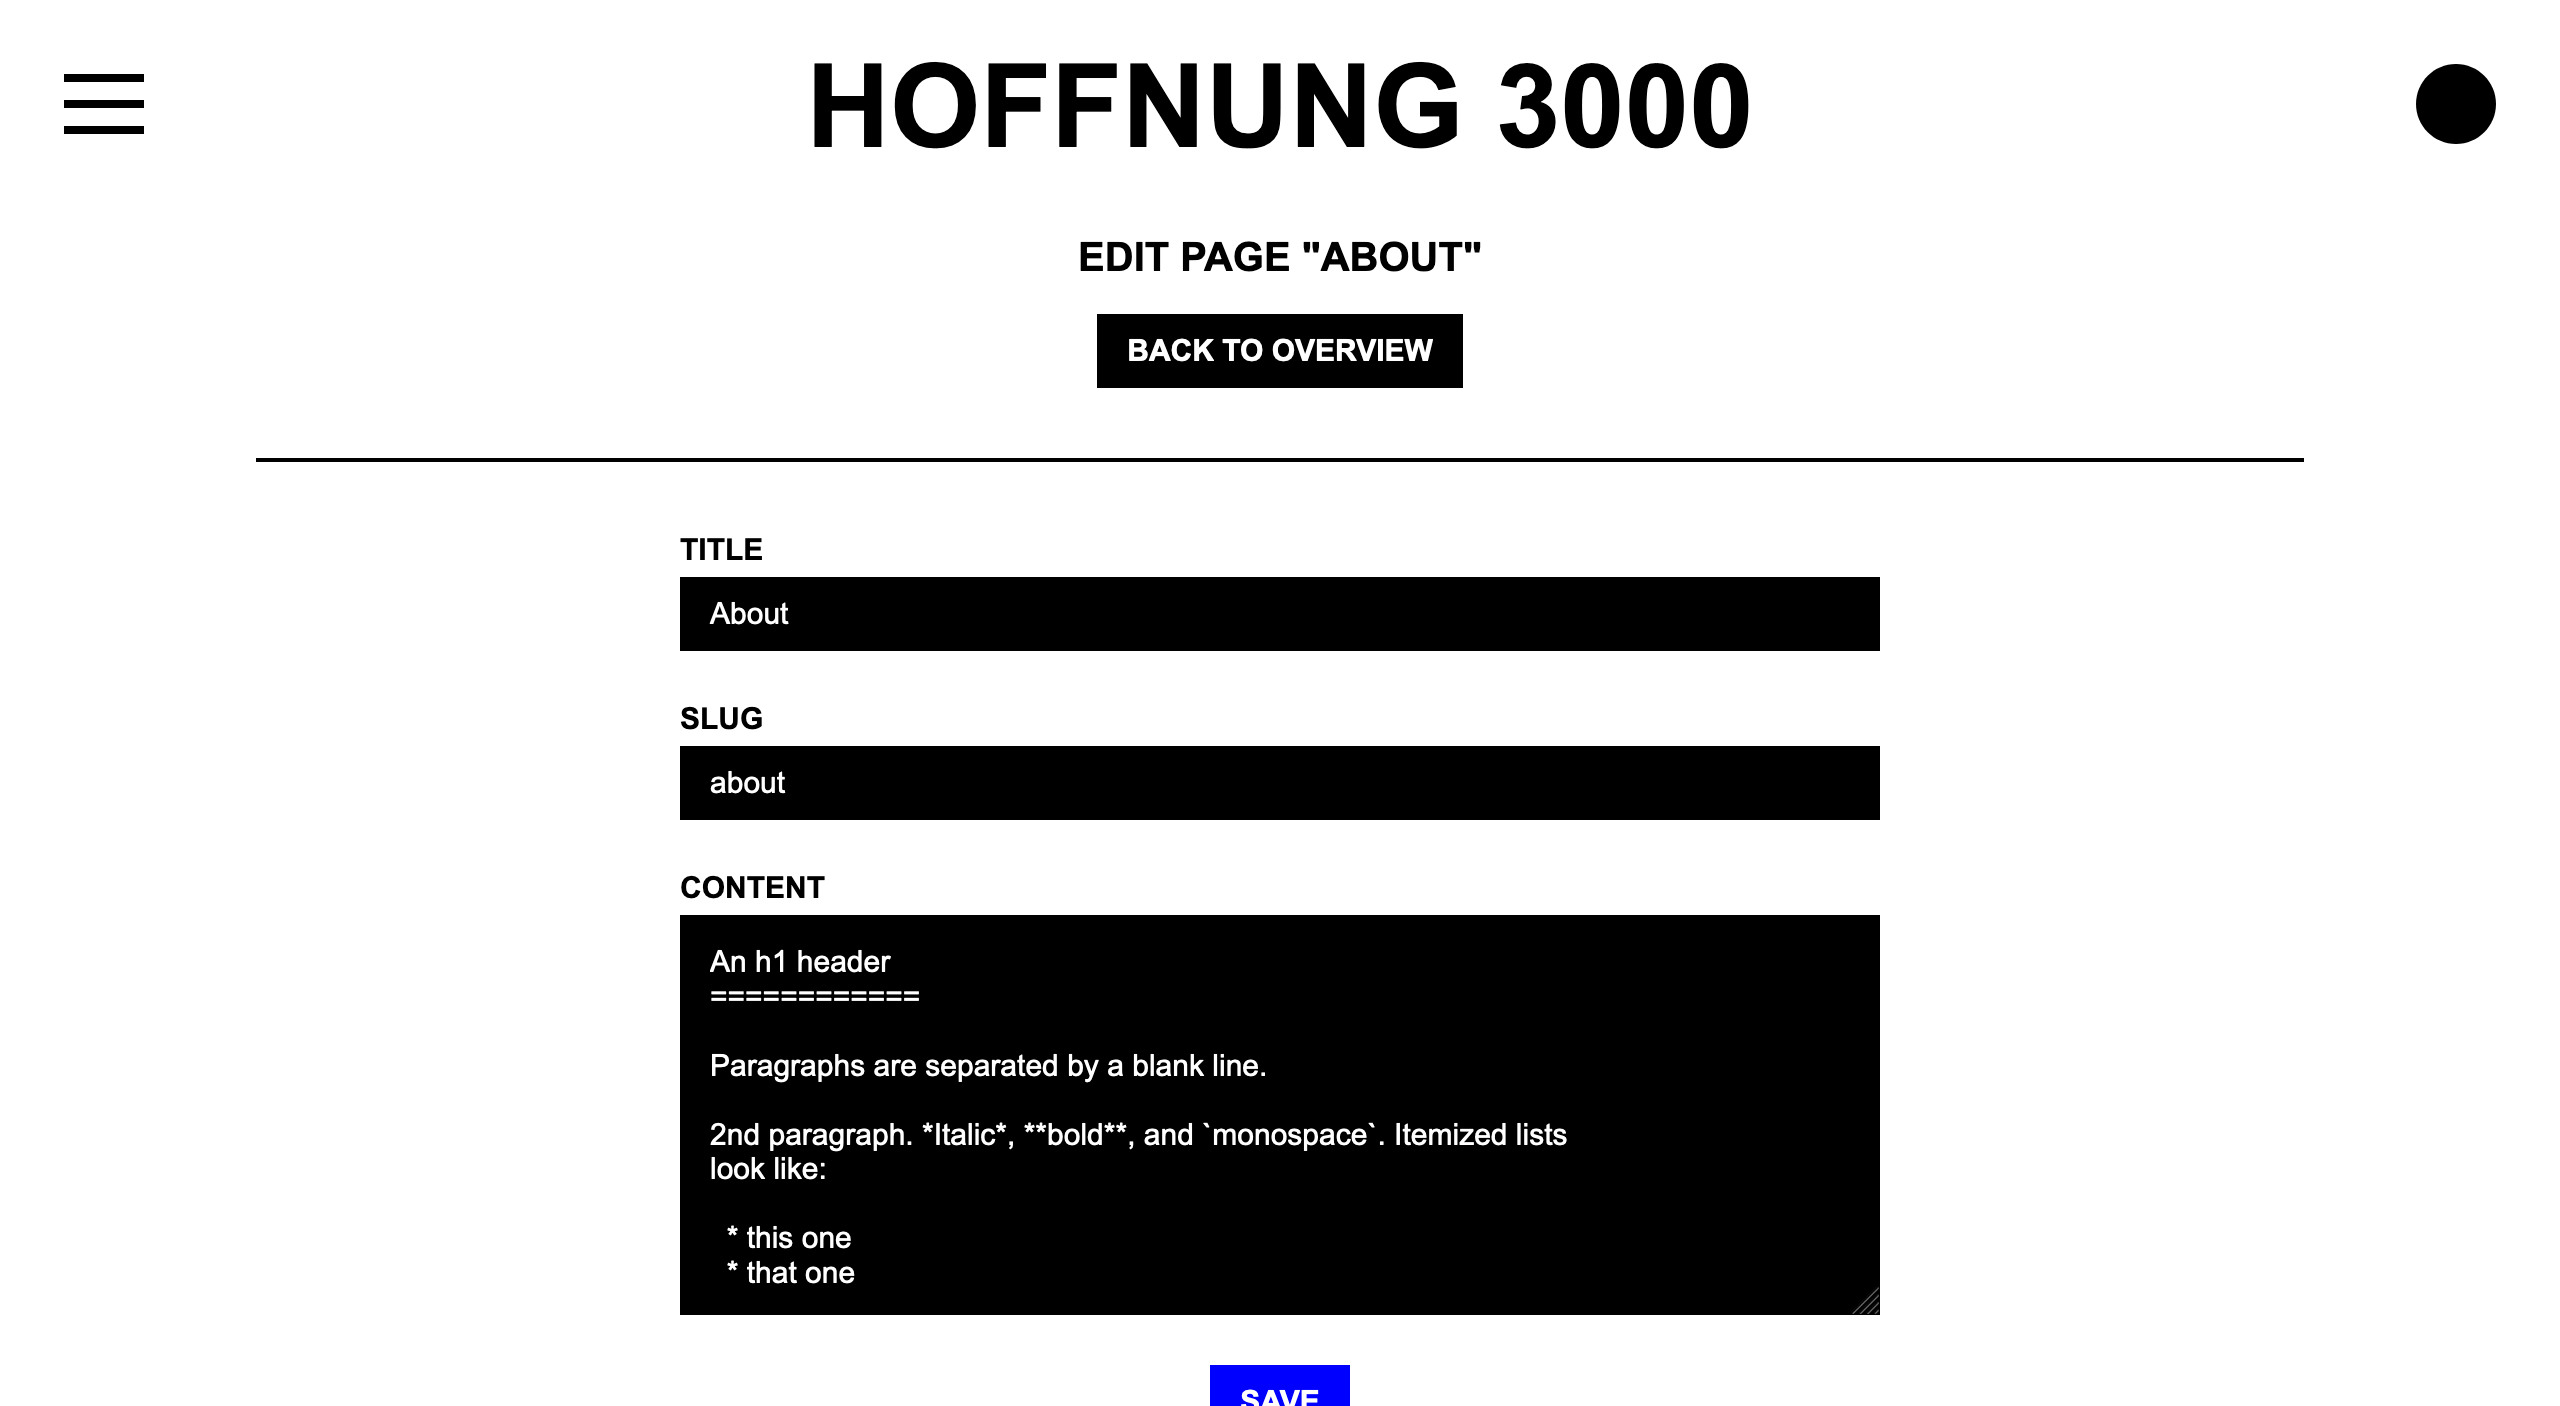
To change email texts or other parts of the page you have to change parts of the source code. Read the development section for more details.
Change title, description, localization, timeframe etc.
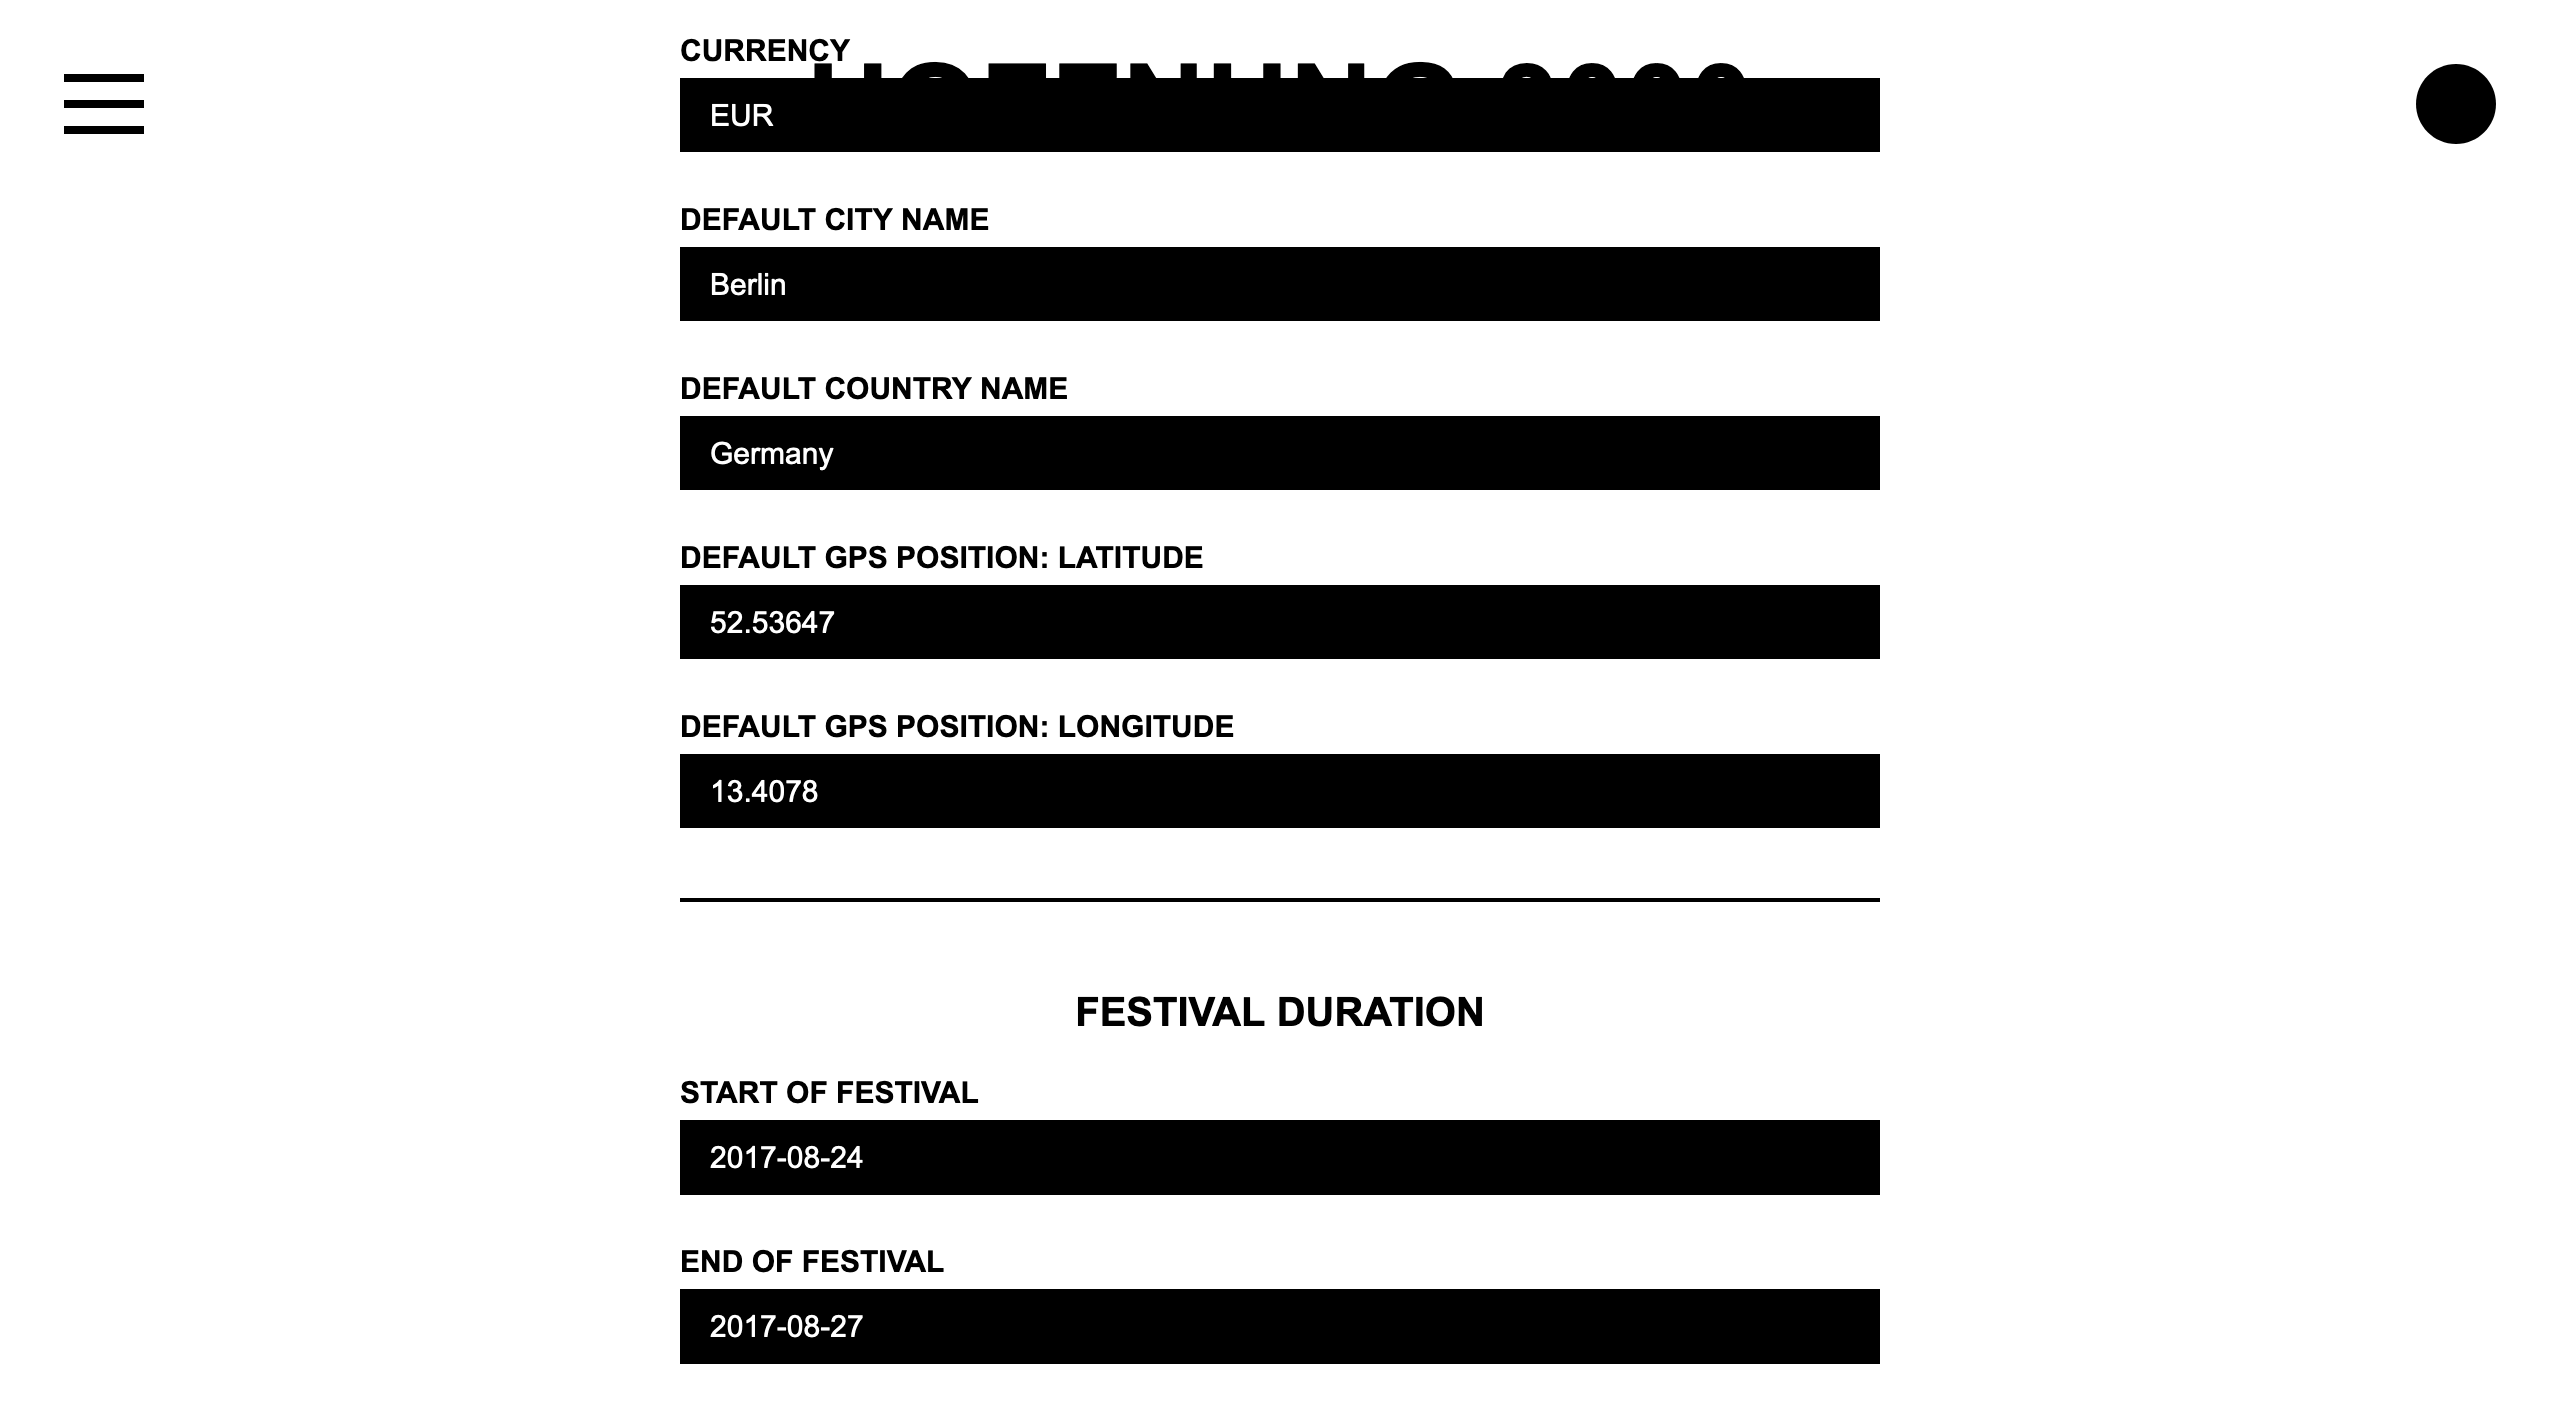
Click on Config in the Admin page. You see the following settings which can be used to customize the platform to your needs:
- Change
URLto your current domain to make sure people receive the right links - Use
Title,Short descriptionto give the platform a different name and description - Fill in the main email-address in
Email-address of admin / website ownerand use the same or another one for automated messages which are sent to users:Email-address of automated mail sender - Change the default for creating new places:
Default city name,Default country name,Default GPS position: Latitude,Default GPS position: Longitude - Change the
Currencyfor ticket sales when necessary, please use one of the following currency codes - Define a
Start of festivalandEnd of festivalto set the timeframe of the whole thing, please make sure to use the following format: YYYY-MM-DD. You can set a very large timeframe if you want to use HOFFNUNG 3000 for constant use.
Ticket sales configuration
HOFFNUNG 3000 offers two separate ticket sales / checkouts for visitors and participants (see Roles above for details on the different user roles). You can activate/deactivate each regarding checkout, limit the amount of tickets or change the prices.
Use Maximum number of participants to define a ticket limit for participants. Set it to 0 if you don’t want to limit the amount. Define a Visitor ticket price and Participant ticket price (15.12 stands for example for 15,12 Euro). Set the prices to 0 if you want to give free entrance.
Toggle the Activate partipant ticket sales, or Activate visitor ticket sales if you want to turn on/off the sale pages.
Payment configuration
To offer bank wire transfer payment fill out the following fields: Receiver name, Bank name, IBAN, BIC. If you want to use PayPal for payment you have to change your server configuration. Please read about it here.
Activate or deactivate features
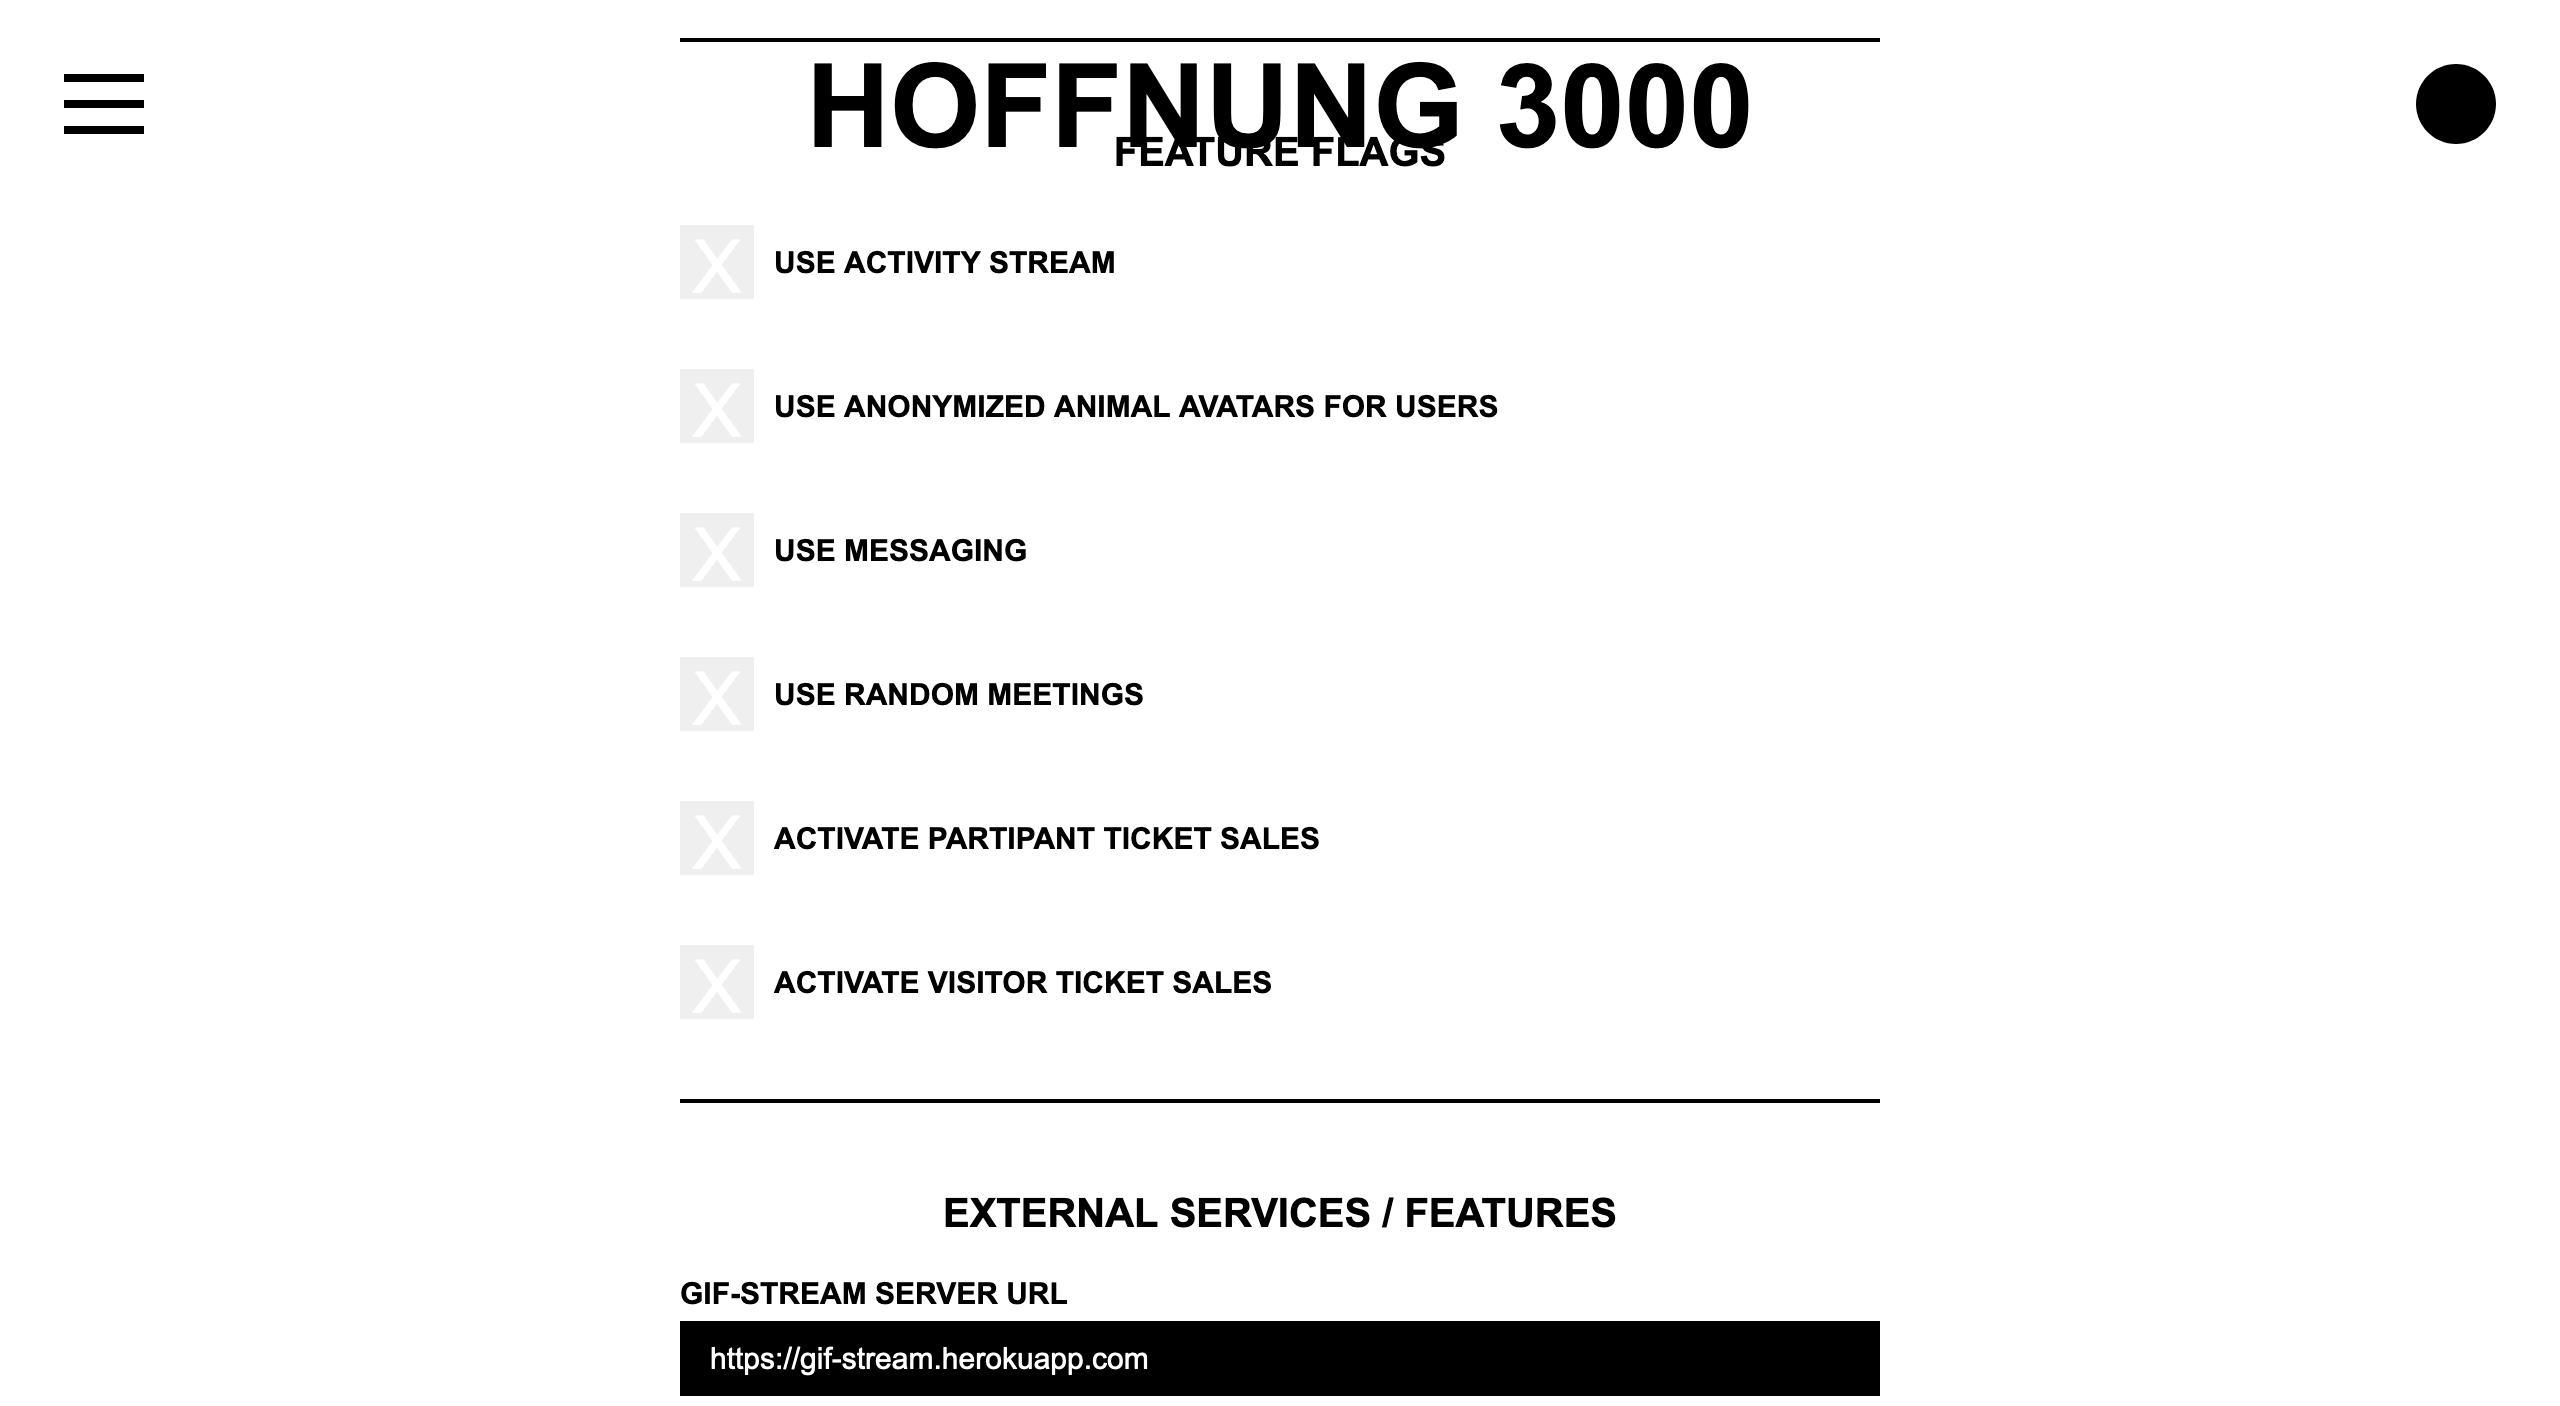
You can turn on/off features depending on your needs. Maybe you dont want to anonymize your users or you want to turn of the built-in messenger. Use the following checkboxes to do so: Use activity stream, Use anonymized animal avatars for users, Use messaging, Use random meetings.
Display YouTube videos
You can display a YouTube video on the homepage by setting the video ID here: Homepage video ID (this is the ID: https://www.youtube.com/watch?v=ux2R9jwEIgw).
If you want participants to watch a YouTube video before signup you can set a Sign up video ID.
Use the gif-stream
Fill out the gif-stream Server URL field with your URL to enable this feature (make sure to remove any trailing slashes from the URL). The platform automatically connects to the gif-stream then. Note that you have to set up the gif-stream-server before.